End of Tenancy Cleaning Checklist
Not Ready
Complete all tasks to maximize your bond refund chance.
Most tenants lose their bond not because they didn't clean, but because they cleaned the wrong way. You scrubbed the floors, you wiped the counters, and you thought you were done. Then the property manager walks in with a white glove and finds dust on top of the door frames or grease behind the stove. Sound familiar? The difference between getting your full deposit back and having it withheld often comes down to following specific, standardized cleaning procedures.
If you are moving out of a rental in Brisbane or anywhere else in Australia, "clean" is subjective. But for landlords and agents, it’s a checklist. There are five core procedural areas that define a professional end of tenancy clean. If you master these, you satisfy the legal requirements for returning the property in the same condition as when you moved in, minus fair wear and tear.
| Procedure Area | Primary Focus | Common Failure Point |
|---|---|---|
| Kitchen Deep Clean | Degreasing appliances & cabinetry | Grease buildup inside ovens and rangehoods |
| Bathroom Sanitization | Limescale removal & mold treatment | Grout discoloration and shower screen seals |
| Floor Care Protocol | Type-specific cleaning (carpet vs. tile) | Stains left on carpets after vacuuming |
| High-Level Dusting | Ceiling fans, cornices, light fixtures | Overlooking tops of wardrobes and door frames |
| Window & Glass Clarity | Interior and exterior pane cleanliness | Marks on glass doors and window tracks |
Kitchen Degreasing and Appliance Restoration
The kitchen is where most bonds get contested. It’s not enough to wipe down the benchtops. You need to tackle built-up grime that accumulates over years of cooking. This procedure requires a systematic approach to degreasing. Start from the top and work your way down. If you start at the bottom, you’ll just drip dirty water onto your freshly cleaned floor.
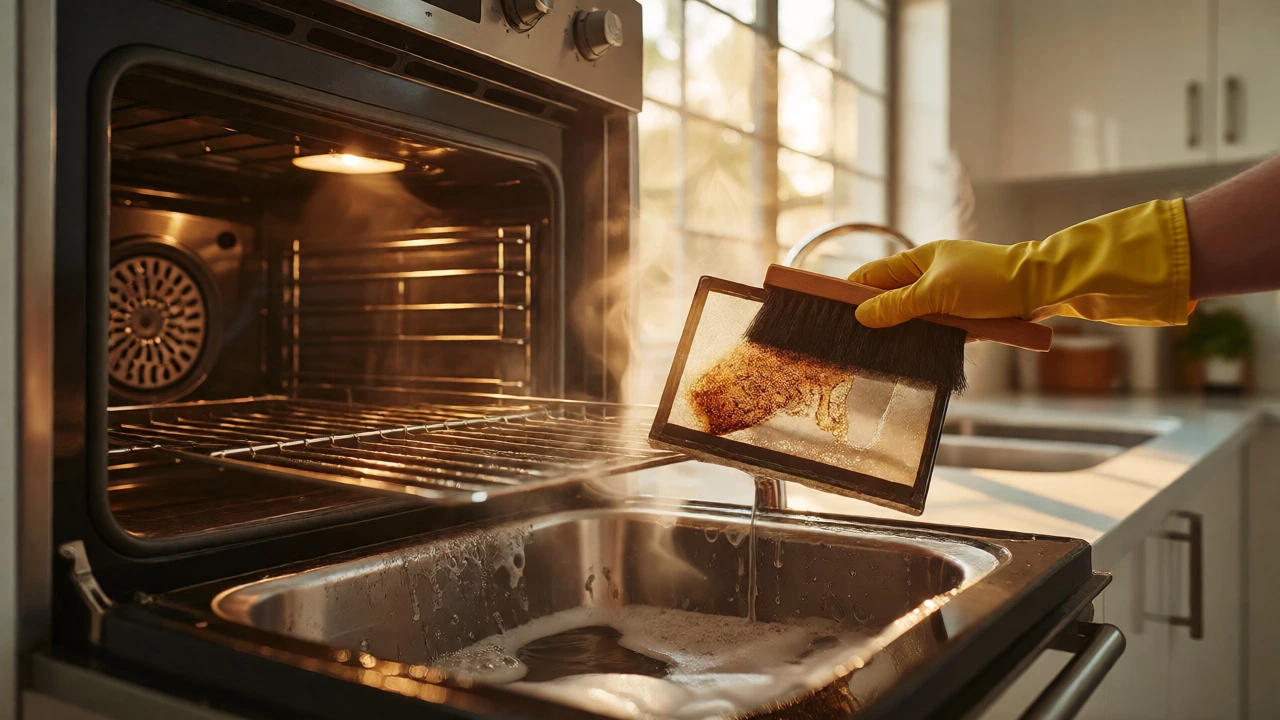
Focus heavily on the oven and rangehood. These two appliances trap the most grease. For the oven, remove the racks and soak them. Use a heavy-duty degreaser on the interior walls. If the enamel is baked-on stubborn, let the cleaner sit for at least 30 minutes before scrubbing. Don’t forget the exterior handles and the gap between the oven and the cabinetry. That narrow strip collects crumbs and splatters that look terrible under inspection lights.
The rangehood filters are another trap. Most people leave them alone. But if you pull them out, you’ll likely find thick layers of yellowed grease. Soak these metal filters in hot water with dish soap or a specialized degreaser until the gunk lifts off easily. Scrub the fan blades inside the hood too. If your dishwasher is included in the lease, run a cleaning cycle with vinegar and baking soda to remove odors and residue. Leave the door slightly ajar so it dries completely without developing a musty smell.
Bathroom Sanitization and Limescale Removal
In Australia, hard water leaves limescale deposits that regular cleaners can’t touch. If your bathroom tiles look cloudy or your shower screen has white crusty edges, you haven’t actually cleaned them-you’ve just moved the dirt around. This procedure demands acidic cleaners specifically designed for calcium and magnesium buildup.
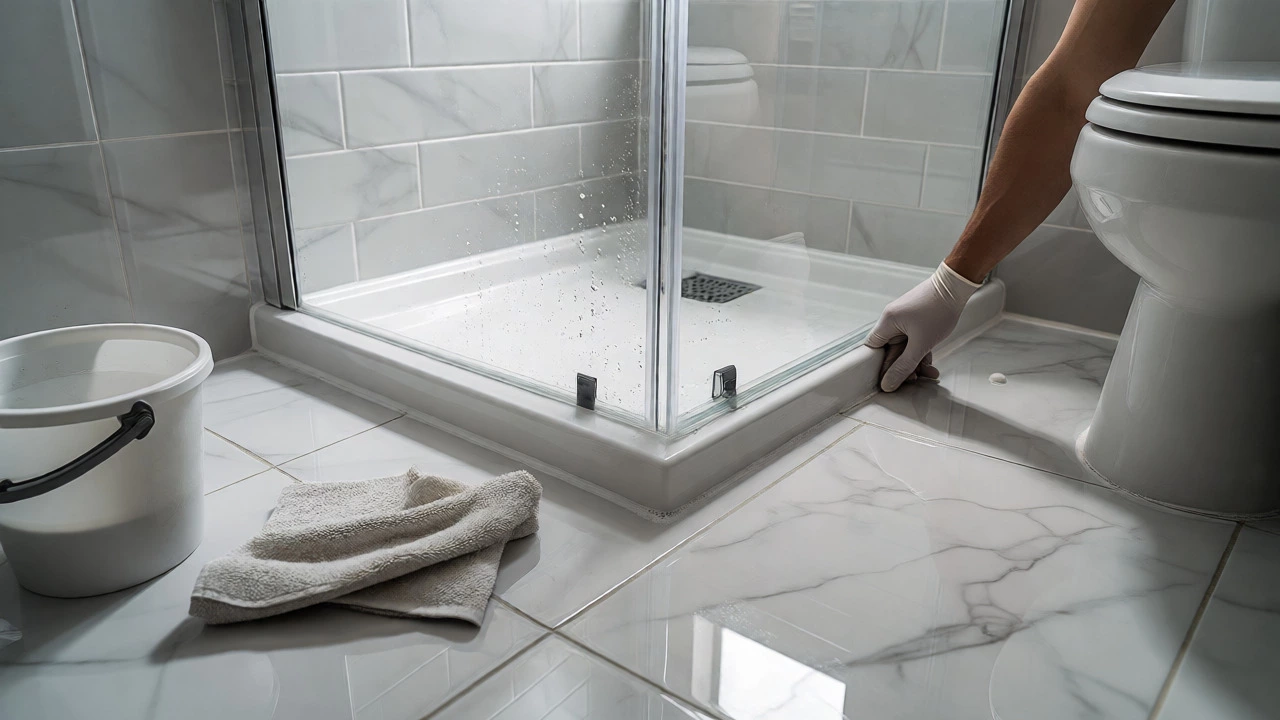
Start with the shower area. Remove any silicone sealant that is black with mold and re-caulk it if necessary. This is a pro tip that saves many tenants from deductions. Inspect the grout lines between tiles. Use a stiff brush and a grout-specific cleaner to restore the original color. Pay attention to the drain covers. Lift them out and scrub underneath; this is where hair and soap scum create blockages and bad smells.
Toilets require more than a quick swish with a brush. Clean the underside of the rim where bacteria hide. Wipe down the tank, the lid, and the base where it meets the floor. Often, there is a ring of dirt around the base that goes unnoticed until you try to move the toilet or inspect closely. Mirrors should be streak-free. Use a microfiber cloth and a glass cleaner, or a mixture of vinegar and water. Check the exhaust fan vents too. They collect dust bunnies that turn into gray fuzz balls over time.
Floor Care Protocols by Material
One size does not fit all when it comes to floors. Using the wrong method can damage surfaces or fail to remove stains, leading to disputes. You need to identify what type of flooring you have and apply the correct procedure.
For carpeted areas, vacuuming is only the first step. You must address stains. Test a small, hidden area first to ensure your stain remover doesn’t bleach the fibers. For general freshness, consider renting a steam cleaner or hiring a professional service. Landlords often expect carpets to look professionally cleaned, especially if they were professionally cleaned when you moved in. If you don’t have access to industrial equipment, spot-clean thoroughly and vacuum multiple times in different directions to lift embedded dirt.
Hardwood floors need gentle care. Avoid excessive water, which can warp the timber. Sweep or vacuum first to remove grit that could scratch the surface. Then, use a damp mop with a pH-neutral cleaner suitable for sealed wood. Never use wax-based products unless you know the previous finish was wax. For tiled floors, focus on the grout. Tiles might look clean, but dark grout lines signal neglect. Scrub the grout with a toothbrush or a dedicated grout tool. Polish porcelain tiles with a dry buffing cloth after mopping to prevent water spots.
High-Level Dusting and Cobweb Removal
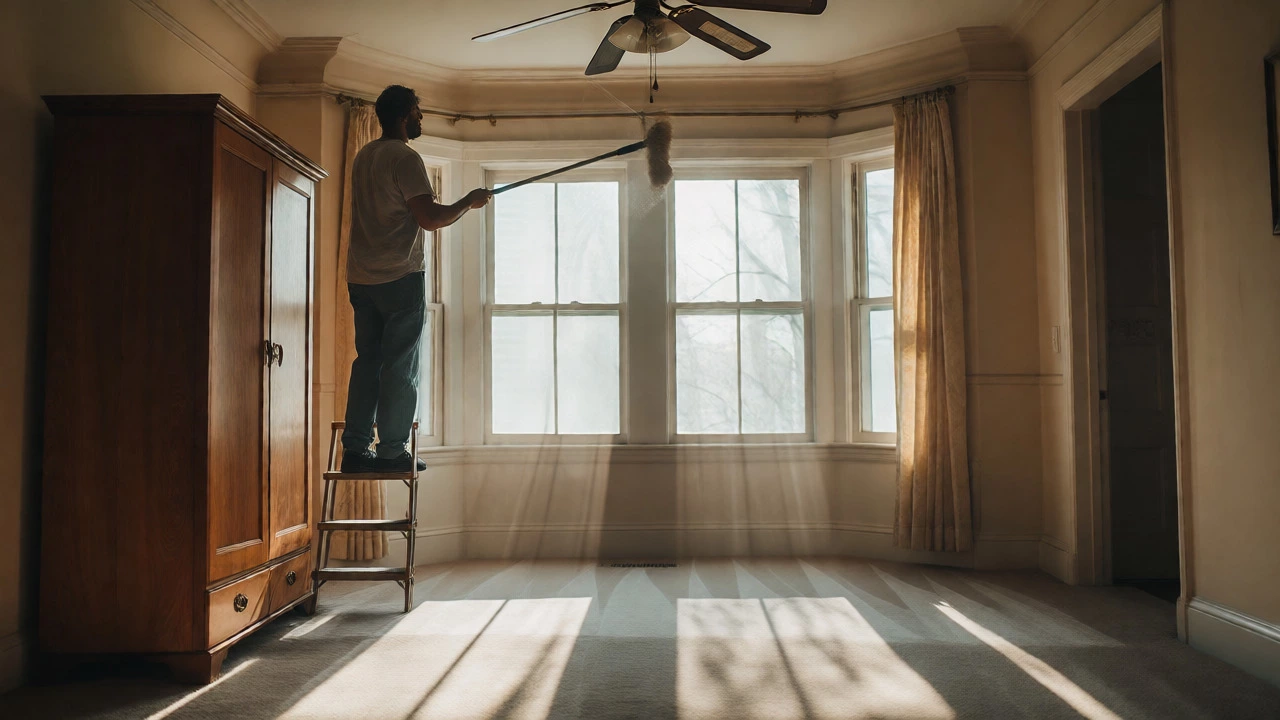
This is the procedure most DIY cleaners skip. Why? Because it’s annoying and requires a ladder. But property managers check high places. Dust settles on ceiling fans, cornices, light fixtures, and the tops of wardrobes. If these areas are dusty, it signals that the rest of the house wasn’t cleaned deeply either.
Get a long-handled duster or an extension pole. Wipe down every ceiling fan blade. Dust accumulates on the top side of the blades, which you can’t see from the floor. Clean the light globes and shades. If they are removable, wash them in warm soapy water. If not, wipe them carefully while ensuring the power is off. Check the tops of internal doors. Run your hand along the top edge of each door frame. You’ll likely feel a layer of grit. Wipe it away.
Don’t forget the air conditioning vents. In Brisbane’s humidity, these can harbor mold spores. Vacuum the grille covers and wipe them down. If you have split-system units, clean the filters according to the manufacturer’s instructions. This improves air quality and shows the agent you cared about the home’s systems, not just its appearance.
Window and Glass Clarity Standards
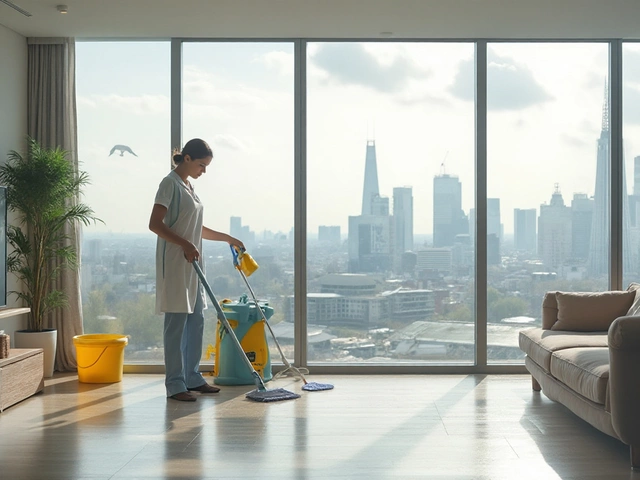
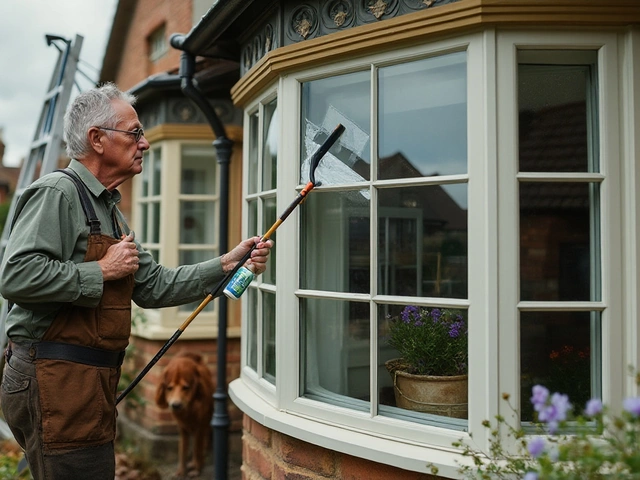
Windows are the eyes of the property. Dirty windows make a clean house look neglected. This procedure covers both the glass panes and the surrounding infrastructure. Start with the tracks. Sliding window and door tracks collect dead insects, sand, and leaf litter. Vacuum them out thoroughly. Then, wipe the tracks with a damp cloth to remove residual grit.
For the glass itself, clean both sides if possible. For ground-floor windows, clean the exterior. For upper levels, do the best you can safely reach. Use a squeegee for large panels to avoid streaks. Microfiber cloths work well for smaller panes. Check the window ledges inside and out. Paint chips and old caulk might need touching up, but at minimum, they must be free of cobwebs and bird droppings.
Screen doors and flyscreens are often overlooked. Hose them down outside to remove pollen and dust. If they are torn, note this in your exit report, as it may be considered fair wear and tear depending on the age of the screens. Ensure the locks and hinges operate smoothly. A sticky window lock can be fixed with a quick spray of lubricant, showing attention to detail.
Documentation and Final Inspection Prep
Once you’ve completed these five procedures, your job isn’t quite done. You need to prove your work. Take timestamped photos of every room, focusing on the areas you cleaned: the inside of the oven, the shower grout, the carpet corners, the top of the cupboards, and the window tracks. Keep these images safe.
Walk through the property one last time. Open cabinets and drawers. Are they empty and wiped down? Check the pantry shelves. Are there crumbs or spilled grains? Look behind the fridge and washing machine. These spots are notorious for hiding dust bunnies and spills. If you hired professionals, ask for a receipt and a guarantee of satisfaction. Many Brisbane cleaning companies offer a re-clean warranty if the landlord fails the inspection within a certain timeframe.
By following these structured cleaning procedures, you shift the narrative from "did they clean?" to "they followed the standard." This objective approach protects your bond and ensures a smooth transition to your next home.
Do I need to hire professionals for end of tenancy cleaning?
Not always, but it depends on your lease agreement and the condition of the property. If your contract specifies "professional carpet cleaning," you likely need a receipt from a licensed company. However, for other areas, thorough DIY cleaning using the right procedures can suffice. Weigh the cost of hiring against the potential loss of your bond. If you lack time or equipment, professionals often provide peace of mind with guarantees.
What happens if I miss a spot during the final inspection?
If the property manager finds a missed spot, they will usually list it as a deduction. Common examples include uncleaned ovens, stained carpets, or dirty windows. You may have a short window to rectify the issue before the final deduction is processed. Always request a detailed inspection report listing exactly what needs fixing so you can address it promptly.
How far in advance should I book end of tenancy cleaning?
In busy periods like December or June in Brisbane, booking 2-4 weeks in advance is wise. For DIY cleaning, allow at least 2-3 days to complete all five procedures properly. Rushing leads to mistakes. Schedule the cleaning after you have packed your belongings but before you hand over the keys, allowing time for touch-ups if needed.
Does end of tenancy cleaning include pest control?
Typically, no. Pest control is a separate service and often required by leases, especially in Queensland due to termites and cockroaches. Check your lease terms. Some agreements state that tenants must arrange pest control upon entry and exit. Cleaning removes food sources and debris that attract pests, but it doesn’t eliminate infestations.
Can I deduct cleaning costs from my rent?
Generally, no. Rent is paid for occupancy, not maintenance. Unless explicitly agreed upon in writing with the landlord, you cannot withhold rent to pay for cleaning. Pay your rent in full and then claim your bond refund after the successful inspection and cleaning completion.