You probably wipe down counters and maybe sweep the floor, but a lot of people don’t realize they’re just moving dirt around—unless they follow the right order. Kitchen cleaning is way less tiring when you follow specific steps. Why do pros clean from the top down? Because gravity is a thing. If you start with the floor, you’ll just have to redo it after crumbs rain down from wiping countertops later.
The seven-step sequence is what separates a quick tidy from a truly clean kitchen. These steps keep bacteria from spreading around (no one wants to wipe fridge gunk onto their prep surfaces) and make the whole process faster. Think of it as a quick routine: clear clutter, dust and sweep, do the dishes, wipe the surfaces, clean appliances, tackle the sink, and then mop the floor. Each step has a reason behind it—skip one, and you’re doubling your work. Let’s break down how you can make your space cleaner and your life a little easier.
- Why Order Matters in Kitchen Cleaning
- Step-by-Step Breakdown of the 7 Cleaning Steps
- Must-Know Tips and Shortcuts
- Common Mistakes and How to Avoid Them
Why Order Matters in Kitchen Cleaning
When you’re cleaning a kitchen, the order you go in seriously makes a difference. If you jump around, you’ll just make more mess and waste your time. Cleaning top-to-bottom isn’t just a neat trick—there’s real logic behind it. Dust and crumbs fall as you wipe shelves or countertops. If you mop first and then clean upper surfaces, you’re guaranteed to mess up your floors again.
Another thing: starting with dishes or clutter before any real scrubbing gives you room to actually clean. Picking up is always step one. By clearing everything out, you make the rest of your kitchen cleaning much quicker and way less frustrating.
Professionals call this the “clean zone” method. You move from less dirty to the dirtiest parts—like leaving the sink and floors for last. It stops you from spreading gunk from a sticky spill to all your clean spots. When you stick to a set sequence, you also dodge the bacteria shuffle: a study by NSF International found kitchen sinks and counters often have more germs than toilet handles. Wiping down high-touch spots in the right order keeps things sanitary instead of just moving germs around.
- Cleaning up clutter first gives you a blank slate.
- Dusting and wiping top surfaces first keeps debris from landing on clean areas later.
- Cleaning appliances and sinks last means you catch all the drips and crumbs you’ve knocked loose along the way.
- Floors are always last—walk across a freshly mopped floor with dirty shoes, and you’re back to square one.
Here’s a quick look at why each step matters:
| Step | Why It Comes First (or Last) |
|---|---|
| Clear Clutter | You can’t clean around stuff in the way |
| Dust/Sweep | Dust falls downward, never upward |
| Do Dishes | Saves space and prevents spreading bacteria |
| Wipe Surfaces | Gets rid of the real grime |
| Clean Appliances | They gather fallout as you clean everything else |
| Sinks | Catches everything rinsed and wiped away |
| Floors | The final step so nothing gets dirty again |
Start with the right order and the rest of your kitchen cleaning routine gets a lot easier—and you really do get things clean.
Step-by-Step Breakdown of the 7 Cleaning Steps
It’s easy to get lost or miss a spot when cleaning your kitchen. Following a methodical approach makes a huge difference in both cleanliness and time spent. Here’s the go-to kitchen cleaning routine that keeps things simple and effective.
- Clear Out the Clutter. Start by removing anything that doesn’t belong on the counters or in the sink—mail, water bottles, old food containers. Fewer items around means less to clean and fewer places for crumbs to hide.
- Dust High and Sweep Low. Hit light fixtures, shelves, and the top of the fridge with a duster. Crumbs and dust fall, so always sweep the floor after you’ve dusted. If you own pets, this step matters double—they shed everywhere.
- Do the Dishes. Whether you’ve got a mountain or just a coffee mug, tackle dishes early. Not only does this make wiping down surfaces possible, but it keeps bacteria and odors in check. Fun fact: 80% of kitchen germs hang out on wet sponges and dirty dishes.
- Wipe Down Surfaces. Go for counters, cabinet fronts, and the kitchen table with a strong, food-safe cleaner. Pay attention to sticky spots and corners. Remember to hit the handles and knobs—these are often dirtier than the actual counter.
- Clean Appliances. Appliances get grimy fast. Wipe the exterior of your fridge, microwave, oven, and especially the coffee maker. For the microwave, a quick steam: heat a bowl of water and lemon slices for three minutes, then wipe the inside. It loosens grime and kills odors in one go.
- Scrub the Sink. Sinks actually harbor more bacteria than toilets, according to a 2023 kitchen hygiene study. Use a tough scrubber and a cleaning product that breaks up grease. Don’t forget to get around the faucet base and the drain—these spots get slimy.
- Mop the Floor. Sweep up first, then grab a mop and tackle the floor last. This way, you’re not sticking crumbs onto your freshly cleaned surfaces. Use hot water for better disinfection, especially if you cook a lot of meat or have kids spilling things frequently.
The trick to this kitchen cleaning plan is the order. Each step sets up the next. Skipping one or moving out of sequence, and you’ll either double your work or leave behind germs and grime.
| Kitchen Area | Average Germ Count (per inch²) |
|---|---|
| Sponge | >10 million |
| Sink | 50,000+ |
| Countertop | 1,000-10,000 |
| Kitchen Floor | Almost 1,000 |
See that? The dirtiest spots aren’t always what you’d expect. Following these cleaning steps helps get rid of hidden germs and keeps your kitchen hygiene on point.
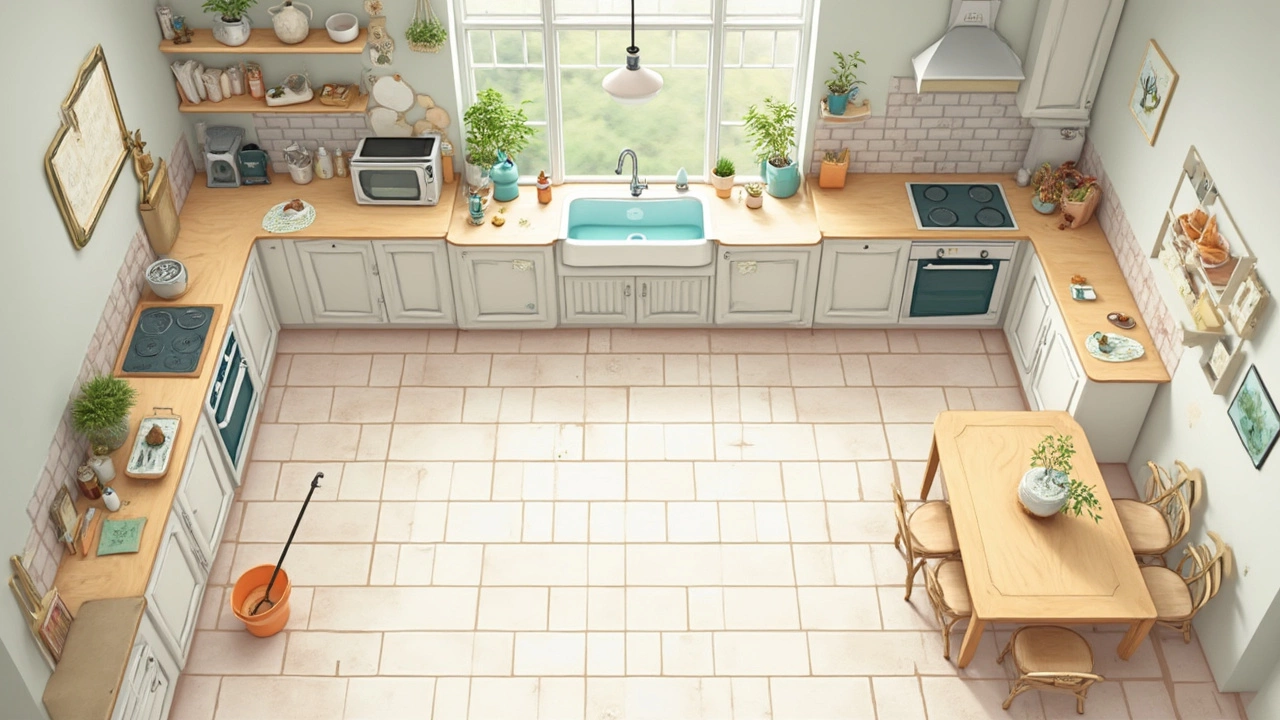
Must-Know Tips and Shortcuts
If kitchen cleaning feels like a marathon, you’re probably missing a few pro tricks. Here’s how to make those kitchen cleaning steps faster, easier, and way more effective.
- Use two cloths, not one. Keep one for surfaces, one for appliances. Color-coding helps. Otherwise, you risk wiping more grime right back onto your already-cleaned spots.
- Let products do the work. Spray your cleaner on tough stains or greasy spots first. Let it sit for a minute or two—this gives enzymes in most sprays time to break down the gunk, so you don’t have to scrub so hard later.
- Dishwasher shortcuts aren’t cheating. You can wash things like fridge shelves, vent covers, and even some microwave turntables in the dishwasher. Just make sure to check for plastic that could warp.
- Vinegar works wonders. Got cloudy glassware or a stinky sink? Heat a cup of vinegar in the microwave for 2 minutes to loosen messes inside. Pour leftover vinegar down the drain—goodbye, odors.
- Floors last for a reason. Since crumbs and dirt fall while you clean other stuff, mopping at the very end means you’ll only have to do it once.
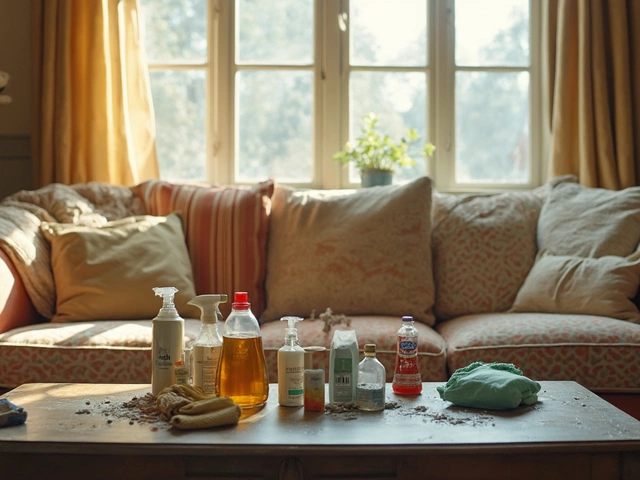
- Keep a cleaning kit handy. Store your go-to kitchen cleaning supplies in a caddy under the sink. This way, you're not running around hunting for sponges or sprays every time a mess happens.
Ever wonder how much time you actually spend on each task? Here’s an idea based on real numbers from a 2023 home habit survey:
| Task | Average Time (minutes) |
|---|---|
| Clearing Clutter | 5 |
| Doing Dishes | 10 |
| Wiping Surfaces | 8 |
| Spot Cleaning Appliances | 7 |
| Floor Care | 10 |
One last tip: try cleaning as you cook. Knocking out a few tasks while something’s in the oven means you’re not left with a disaster after dinner—a trick every seasoned pro swears by. Little habits like these save you loads of stress and make keeping a tidy kitchen way more doable.
Common Mistakes and How to Avoid Them
Most people mean well but trip up on kitchen cleaning without even knowing it. It’s usually not laziness—just small mistakes that turn your kitchen cleaning into a never-ending chore. Let’s get right to the slip-ups that mess with results and waste your time.
- Cleaning surfaces before decluttering: Wiping around coffee mugs, spice jars, and kids’ lunchboxes just shifts crumbs underneath. Always clear the junk first.
- Reusing the same old sponge: Old sponges are germ magnets. If your sponge smells, toss it. They’re cheap; bacteria are not.
- Ignoring high-touch spots: Handles, knobs, and light switches get nasty fast. Hit them every time you clean—door handles alone can host thousands of bacteria per square inch.
- Forgetting to swap out dish towels: Damp towels breed germs. They need a fresh change at least every 2-3 days, more if you’re handling raw meat.
- Using the wrong cleaner for appliances: Spraying anything you grab onto your fridge or stove can wreck the finish. Read the labels. Stainless steel needs a gentle, non-abrasive cleaner.
- Cleaning out of order: Scrubbing the floor before countertops puts you right back at square one, with crumbs raining down. Always work top to bottom.
- Skipping sink and faucet cleaning: Sinks are usually dirtier than your toilet seat, especially if you forget to scrub the faucet. Hit the faucet with soap and a brush—germs love to hide around the base.
Check out how these habits stack up in a typical household:
| Cleaning Task | Common Mistake | Impact |
|---|---|---|
| Appliance cleaning | Using harsh cleaners | Can cause permanent stains or scratches |
| Wiping surfaces | Using dirty cloths | Spreads bacteria everywhere |
| Clearing clutter | Skipping before wiping | Misses dirt and wastes time |
Keeping these basics in check can save real headaches. It’s not about scrubbing for hours—it’s about working smarter. Stick with the right tools, the right order, and swapping out anything that smells or looks gross. That way, kitchen cleaning turns into less of a fight and more of a win every time.

