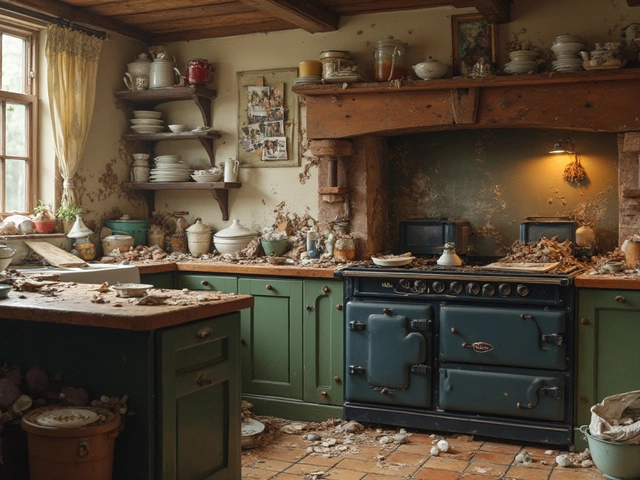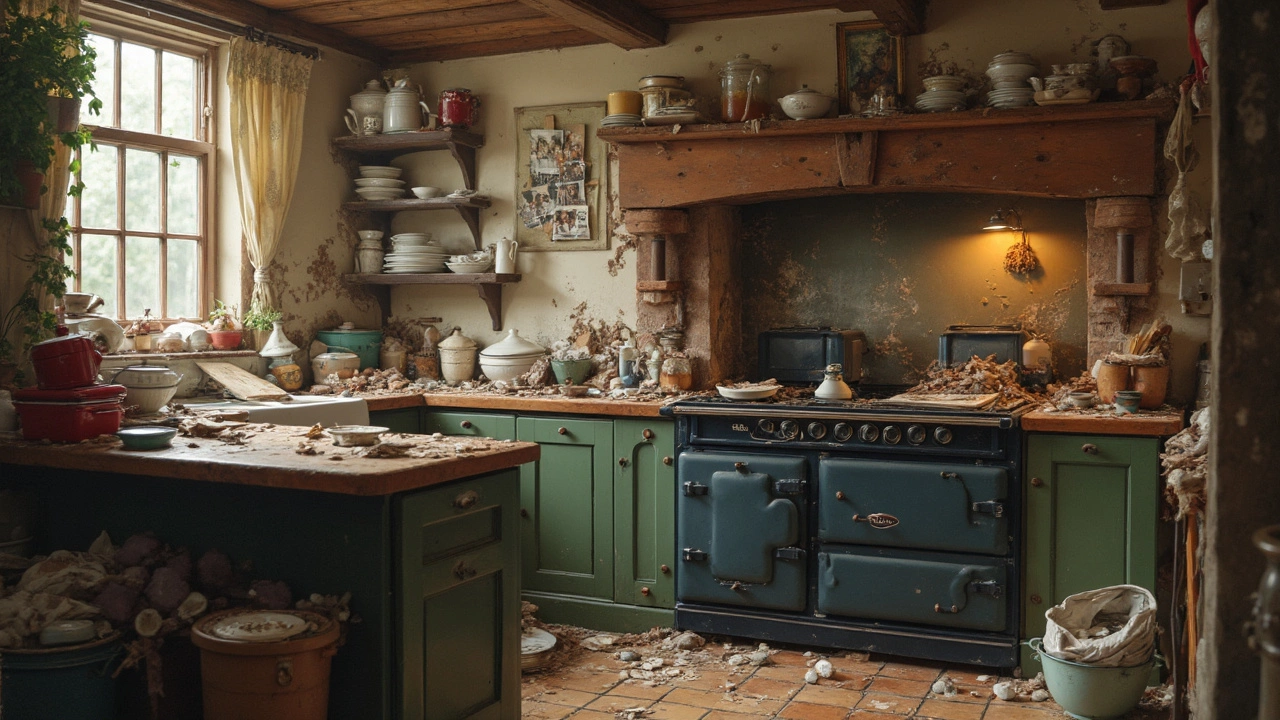
A filthy kitchen can quickly become an eyesore and a health hazard. But before you throw in the towel, there's hope! Let's kick things off with a methodical approach to turn that chaos into a sparkling, fresh space.
First, take a good look around. Before diving into cleaning, you need to understand the extent of the mess. Check out every corner of your kitchen, from those dusty shelves to the sticky countertops. Understand what you're dealing with so you can plan your attack!
Once you've surveyed the scene, it’s time to get organized. Clutter can add to the stress, so clear out those surfaces. Set aside items you rarely use and decide what's essential. You'll be amazed at how much easier it is to clean when you're not dodging a mountain of unused gadgets.
- Survey the Situation
- Declutter and Organize
- Tackle Grease and Grime
- Focus on Appliances
- Finishing Touches
Survey the Situation
Before diving headfirst into deep cleaning your kitchen, you'll want to take a step back and carefully survey what you're up against. This is the key starting point to make sure you're not missing any spots that need your attention. Think of it as creating a game plan before going into battle!
Check the Highs and Lows
Begin at the top and work your way down. Ceiling corners collect cobwebs, and those upper cabinets probably have a layer of dust that's older than you'd like to admit. Then, look underneath: are those baseboards looking grungy? Pull out appliances, even if just a few inches, to see what's lurking behind.
Inspect the Cooking Areas
The stove and oven are notorious for accumulating grease and grime. Open the oven door and take a peek inside - is it a grease-fest in there? If so, you'll need to allow some extra time to let cleaning solutions work their magic.
Surfaces and Sink
Countertops can be tricky, especially with all the stuff we tend to store there. Clear away the clutter and check for sticky spots or stains that have set in. Don't forget the sink - food scraps combined with standing water can create a not-so-pleasant smell.
Identify Trouble Zones
Most kitchens have one or two areas that seem to attract mess like magnets. Perhaps it's the cabinet under the sink that has a knack for gathering leaks and spills, or the pantry that never seems to stay organized. Make a note of these zones; they'll need some special attention.
Now that you have a comprehensive overview, you're ready to move to the next step: deep cleaning like a pro. Your kitchen is one of the most-used spaces in the home, so tackling it the right way can make a huge difference in making those cooking adventures much more enjoyable!
Declutter and Organize
Alright, now that you've scoped out the scene in your dirty kitchen, it's time for the next step: decluttering and organizing. Trust me, clearing things up is half the battle. After all, you can't clean what you can't see, right?
Clear Surfaces
Let's start with the countertops. Clear everything off, and I mean everything. Put away the small appliances you don’t use every day. If it hasn’t seen the light of day in the last month, it probably doesn't need to be out.
Sort Items
Now, it's time to sort. Make three piles: keep, toss, and donate. Be ruthless with your decisions. That third blender you thought you needed? If it’s gathering dust, it’s time to part ways.
- Toss: Anything expired, broken, or just plain useless.
- Donate: Items in good condition that you no longer use.
- Keep: Essentials that serve a purpose and are used regularly.
Organize Smart
Once you've sorted things out, it’s time to organize. Store items you use most often in easily accessible spots. You might consider getting drawer organizers or shelf dividers to maximize space. Remember, an organized kitchen is an efficient kitchen.
Label It
Labeling is your friend here. Use labels for jars, shelves, and containers to avoid future clutter. It'll save you time and stress when you know exactly where everything is.
Decluttering and organizing might feel like a chore, but once done, it sets the stage for a thorough deep clean. Plus, who doesn’t want more space and less stress?

Tackle Grease and Grime
When it comes to a grimy kitchen, grease is your number one enemy. It sneaks up on you, coating everything from your stovetop to the walls around it. Let's break down a few strategies to make those surfaces shine again.
Understand the Culprits
Cooking can release a mix of fats and smoke which cling to your kitchen surfaces over time. If you've ever seen that stubborn sticky layer on your cabinets or walls, that's what we're dealing with. The aim is to break down those greasy residues effectively.
Gathering Your Tools
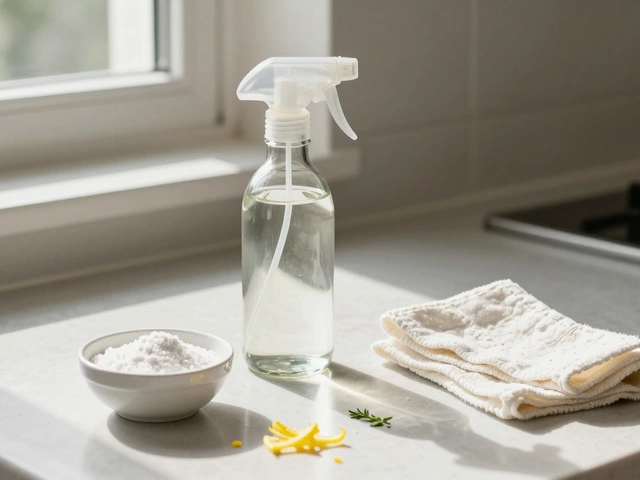
You don't need fancy products to fight grime. Here's a quick list of what you'll need:
- White vinegar - a natural degreaser
- Dish soap
- Baking soda
- Microfiber cloths or sponges
- Scrubbing brush (for tougher spots)
Grease Tackling Steps
- Prepare Your Mix: Combine equal parts of white vinegar and water in a spray bottle. For tougher areas, add a few drops of dish soap.
- Spray and Sit: Spray the greasy areas generously with your mixture and let it sit for a few minutes.
- Scrub Away: Using a cloth or sponge, scrub off the grease. For the really tough spots, sprinkle a little baking soda onto the area and scrub in circular motions with a brush.
- Rinse and Dry: After scrubbing, wipe down with a damp cloth to remove any residue, then dry with a clean towel.
Did You Know?
According to a recent cleaning survey, over 45% of home cooks admit they avoid cooking certain dishes to bypass cleaning greasy messes! But with these easy steps, you won't have to shy away from your favorite recipes anymore.
Focus on Appliances
When it comes to deep cleaning your kitchen, the appliances are the heart and soul. Let's face it, they do the heavy lifting when it comes to cooking and keeping our food safe, but they often get overlooked.
Refrigerator Care
Start with the fridge. It's smart to do this job when your groceries are low, so there's less to shift around. Empty the fridge, tossing expired food as you go. Remove shelves and drawers for a soap and water bath. A dash of vinegar in your cleaning mix will nix odors effectively.
Stove and Oven Revival
Next, turn your attention to the stove and oven. Layers of grease and grime can really build up here. For stovetops, a mixture of baking soda and water works wonders. Let it sit, then scrub with a non-scratch sponge. When it comes to ovens, many have a self-cleaning option—use it if you've got it! Otherwise, a baking soda paste left overnight can help lift stubborn spills.
Dishwasher TLC
Ever noticed a funky smell from your dishwasher? Run an empty cycle with a cup of vinegar on the top rack. It'll help eliminate food particles and eradicate odors, leaving your dishwasher fresh and efficient.
Microwave Freshening
Microwaves handle everything from popcorn explosions to soup spills. Pop a bowl of water and lemon juice inside and let the microwave run for a few minutes. The steam will loosen gunk, making it easier to wipe away.
A little love and elbow grease can go a long way, turning appliance cleaning into a rewarding task. A clean kitchen means a happy home, and these simple steps keep your appliances running smoothly and looking great!

Finishing Touches
Now that you've tackled the heavy-duty grime and clutter, it's time to focus on the finishing touches that really make your kitchen shine. These last steps are the difference between a clean kitchen and a spotless one.
Polishing Surfaces
Once everything is clean, take a moment to polish surfaces for an extra sparkle. Use a microfiber cloth for your stainless steel appliances, buffing in the direction of the grain. This not only makes them look great but also prevents fingerprints from showing up too quickly.
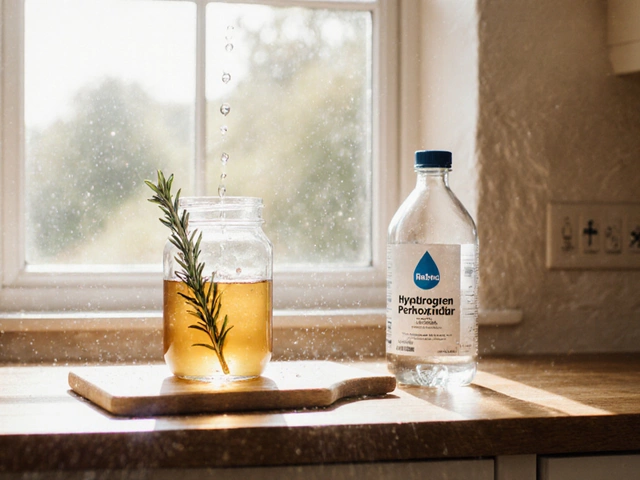
Freshen the Air
Don't forget about the smell! A quick trick is to simmer a pot of water with a few lemon slices and a couple of sprigs of rosemary. This natural air freshener will make your kitchen smell inviting. Plus, it's way better than synthetic air fresheners that just mask odors.
Lighting and Ambiance
Check your lighting. Replacing old or burned-out bulbs with bright LED ones can truly illuminate your new, clean space and save on energy bills. Consider adding a small lamp or LED strip under cabinets for a cozy ambiance at night.
Final Wipe Down
Finish up with a final wipe-down of high-touch areas like doorknobs and light switches. These spots can easily be overlooked but often harbor germs. A spritz of antibacterial cleaner ought to do the trick.
With these finishing touches, your kitchen cleaning mission is complete! You've got a safe, welcoming space that's a joy to cook in. Give yourself a pat on the back—you've earned it!