Mattress Cleaning Frequency Calculator
How often should you deep clean your mattress to prevent dust mites, allergens, and moisture buildup? This calculator uses health research and expert recommendations to determine your ideal cleaning schedule.
Results will appear here based on your inputs
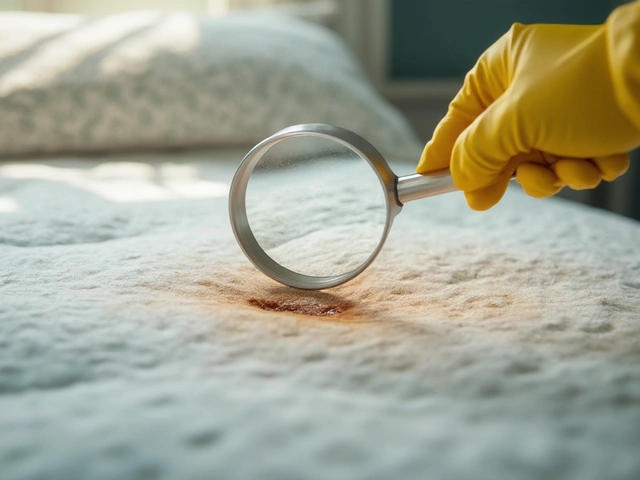
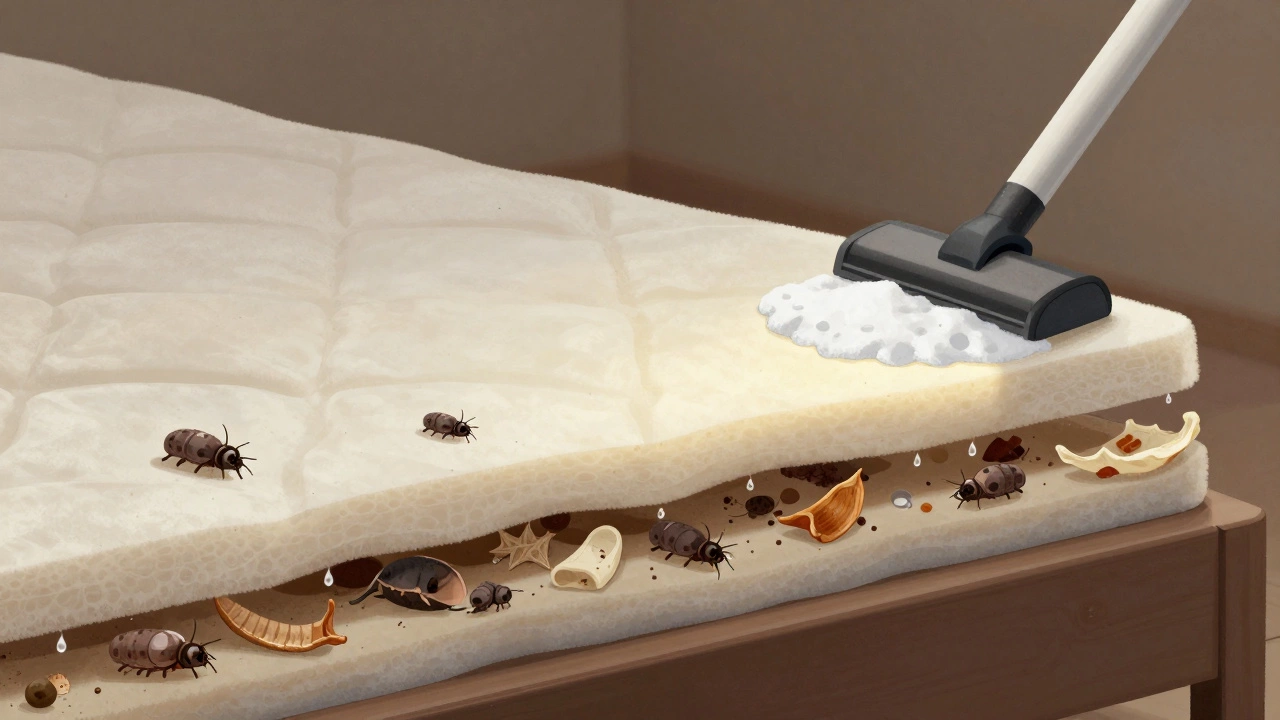
Most people think cleaning a mattress means vacuuming the surface and flipping it over. But the real problem - the sweat, dead skin, dust mites, and allergens - lives inside. And if you’ve ever woken up with itchy skin, a stuffy nose, or unexplained rashes, your mattress might be the culprit. The inside of a mattress isn’t just padding and springs. It’s a hidden ecosystem. Left unchecked, it can hold up to 10% of its weight in dust, dead skin, and moisture over five years. This isn’t a myth. A 2021 study from the University of Sheffield found that older mattresses in UK homes contained over 1,200 dust mite allergens per gram of material - enough to trigger asthma in sensitive individuals.
Why Cleaning the Inside Matters
You can’t see it, but your mattress absorbs everything: sweat, body oils, spilled drinks, pet dander, and even pollen tracked in from outside. Over time, these get pulled deep into the foam, springs, and fabric layers. Moisture is the biggest enemy. It creates the perfect breeding ground for dust mites - tiny bugs that feed on dead skin cells. Their droppings are the main cause of allergic reactions. A 2023 NHS report linked poor mattress hygiene to 37% of chronic respiratory complaints in adults under 50.
Washing the surface with a spray or steam cleaner doesn’t cut it. You need to get inside. That means pulling back the cover, accessing the core layers, and removing built-up debris. This isn’t just about cleanliness - it’s about health.
What You’ll Need
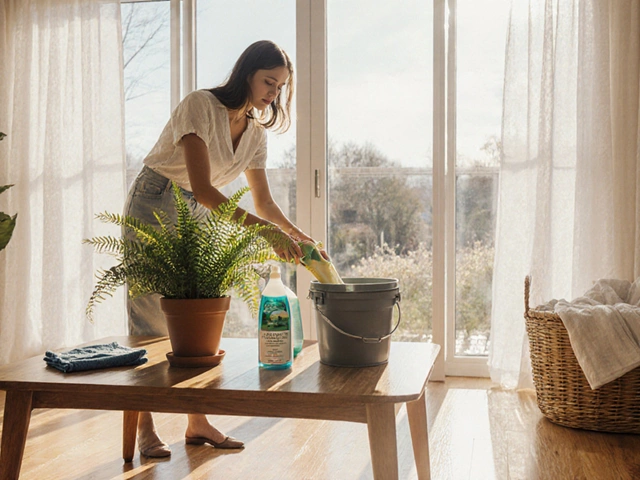
Before you start, gather the right tools. You don’t need fancy gear. Most of what you need is already in your home:
- Handheld vacuum with upholstery attachment
- Baking soda (the cheapest, most effective deodorizer)
- White vinegar (for breaking down organic residue)
- Distilled water (to avoid mineral buildup)
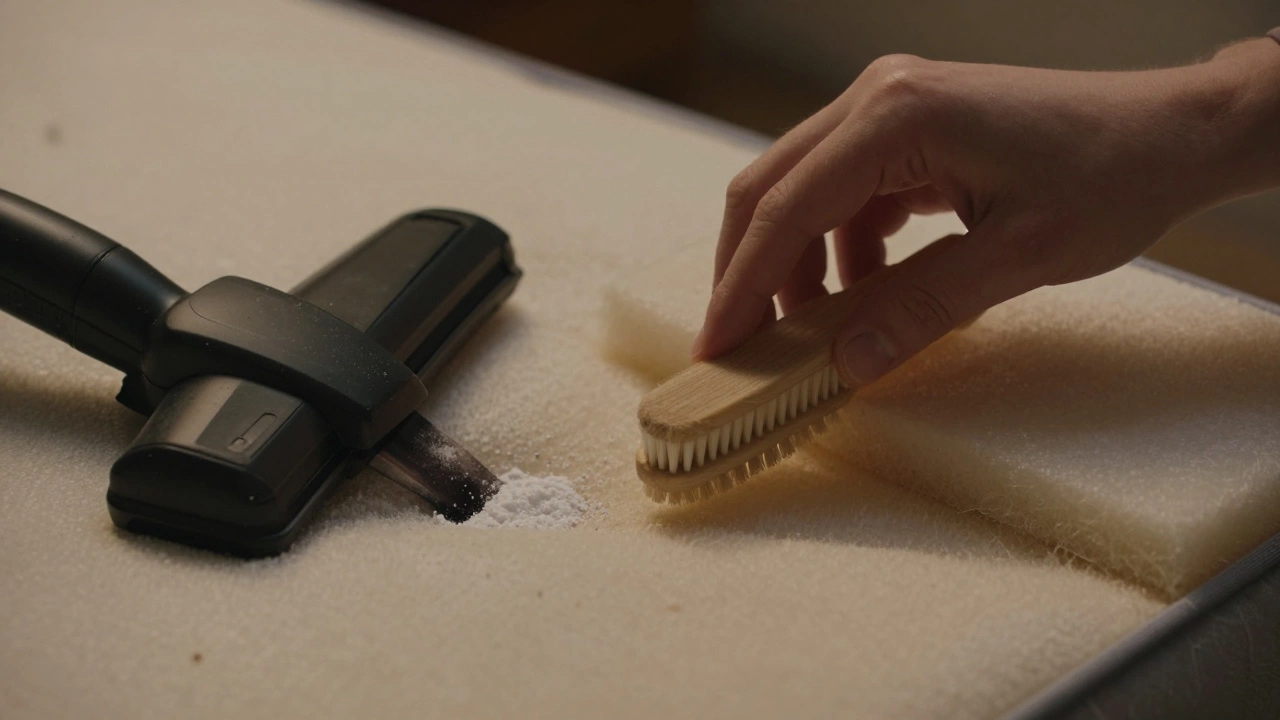
- Soft-bristle brush or clean toothbrush
- Microfiber cloths (absorbent, lint-free)
- Laundry detergent (unscented, mild)
- Protective gloves and mask (optional, but recommended)
Don’t use bleach, ammonia, or strong chemical cleaners. They can damage the foam, leave toxic residues, and make odours worse. Stick to natural, non-toxic solutions.
Step 1: Remove the Mattress Cover
Most modern mattresses have a removable, zip-off cover. Check the label - some are machine washable. If it is, wash it in hot water (at least 54°C) with unscented detergent. Dry on high heat. Heat kills dust mites. If the cover isn’t removable, skip to Step 2.
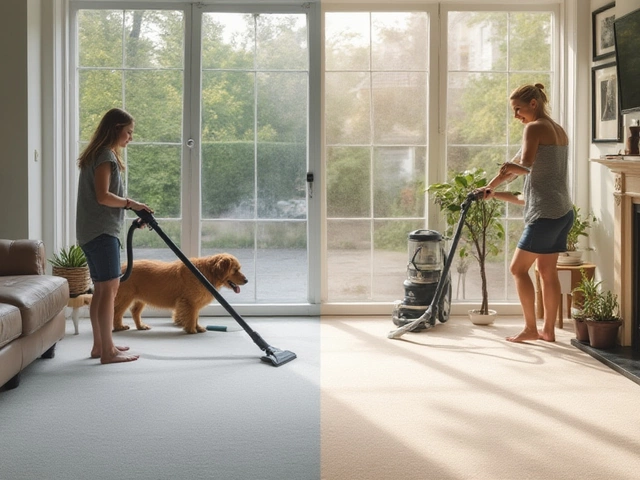
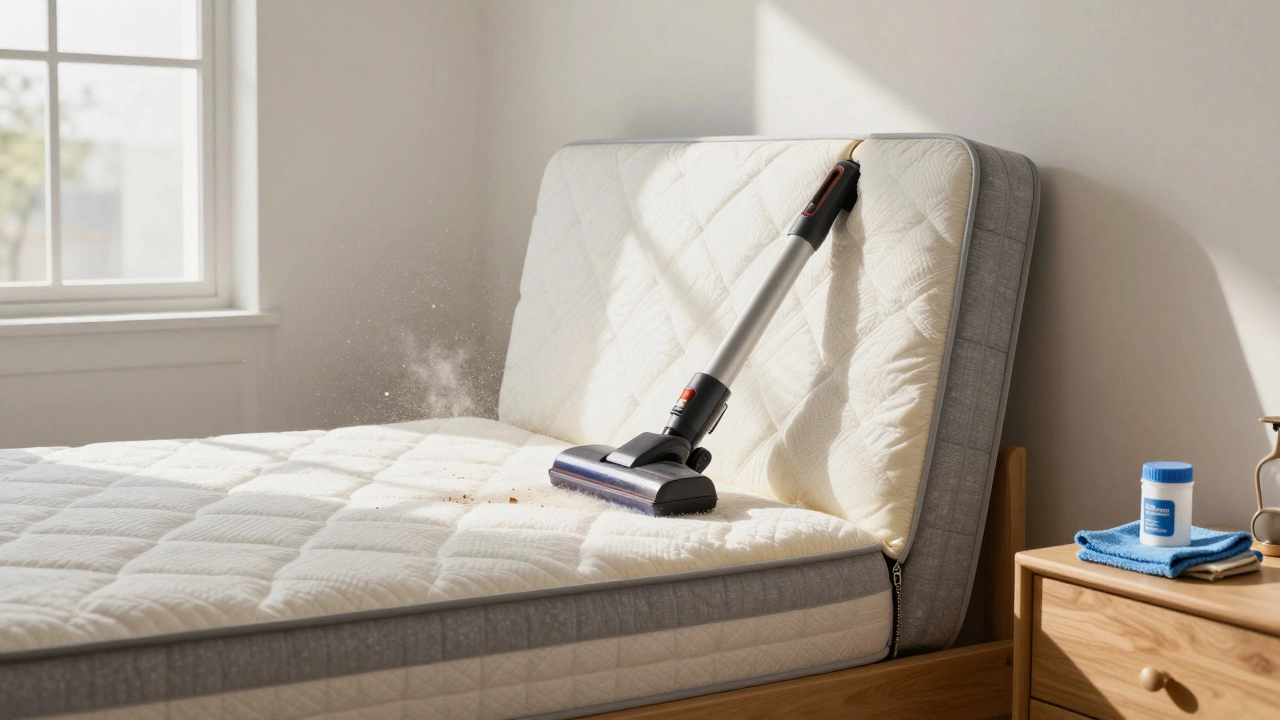
For non-removable covers, you’ll work directly on the mattress surface. Use your vacuum’s upholstery tool to go over every inch. Focus on seams, edges, and any stitched areas where debris collects. Run the vacuum slowly - at least 10 seconds per square foot. You’ll be surprised how much dust comes out.
Step 2: Lift the Mattress and Ventilate
Flip the mattress on its side or stand it upright against a wall. This lets air circulate behind it. Leave it there for at least two hours. If it’s a sunny day, open a window. Sunlight naturally kills mold and mites. Don’t skip this step. Moisture trapped in the mattress core is what keeps the problem alive.
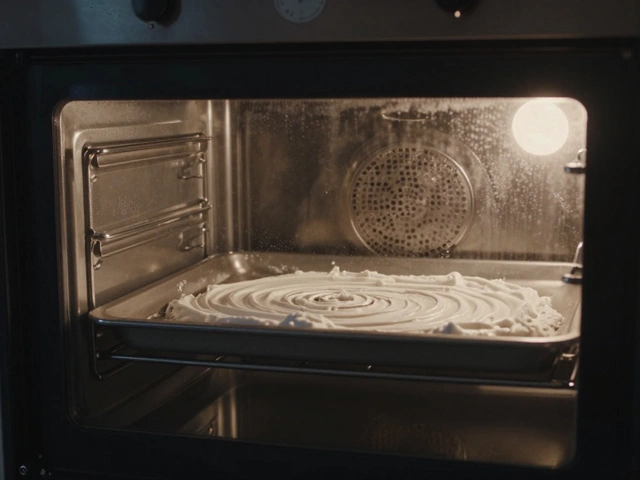
Step 3: Treat the Surface with Baking Soda
Even if you can’t access the inside yet, start with the top. Sprinkle a generous, even layer of baking soda over the entire surface. Use about one cup for a double mattress. Baking soda doesn’t just mask odours - it absorbs moisture and neutralizes acidic residues from sweat and body oils.
Let it sit for 30 minutes. Then, use the vacuum again. This time, go over the area slowly. You’ll see the baking soda disappear into the vacuum. That’s the grime you didn’t know was there.
Step 4: Access the Inside (If Possible)
Some mattresses have zippers along the side or bottom that let you open them like a pillowcase. If yours does, unzip it carefully. Don’t force it. If the zipper is stiff, rub a little wax from a candle along the teeth.
Once open, you’ll see layers: foam, fibre padding, and sometimes springs. Use the soft-bristle brush to gently loosen any clumps of dust or debris. Then vacuum again - this time, with the crevice tool. Get into every corner. You might find old stains, fluff from bedding, or even tiny bits of hair. Remove it all.
If your mattress doesn’t have a zipper, you can’t access the inside without damaging it. In that case, focus on surface cleaning and regular maintenance.
Step 5: Spot-Clean Stains and Odours
For old stains - sweat, urine, or spills - mix one part white vinegar with one part distilled water. Dampen a microfiber cloth (don’t soak it) and dab the stain. Don’t rub. Rubbing pushes the stain deeper. Blot until the area is damp but not wet. Then sprinkle baking soda over it again. Let it sit for 15 minutes. Vacuum it up.
For stubborn odours, repeat the vinegar and baking soda process. Vinegar breaks down organic matter. Baking soda neutralises the smell. Together, they’re more effective than any commercial mattress cleaner.
Step 6: Dry Completely
Moisture is the enemy. After cleaning, the mattress must be bone dry before you put sheets back on. Use a fan to blow air across it. Open windows. Let it dry for at least 4-6 hours. If you’re in a humid climate like Sheffield, give it 8 hours. Test it with your hand - if it feels cool or damp, keep drying.
Step 7: Protect It Going Forward
Once clean, you need to keep it that way. Buy a waterproof, breathable mattress protector. It should be machine washable. Wash it every two weeks. Change your sheets weekly. Avoid eating or drinking in bed. Keep pets off the mattress if possible.
Every three months, repeat the baking soda vacuum step. It takes 10 minutes. That’s all it takes to prevent buildup.
What Not to Do
- Don’t use a steam cleaner on memory foam - heat can melt the material.
- Don’t spray liquid cleaners directly onto the mattress - you’ll soak the core.
- Don’t use fabric fresheners or scented sprays - they trap moisture and irritate lungs.
- Don’t flip a mattress without checking the manufacturer’s instructions - some are one-sided.
Many people ruin their mattresses trying to clean them. The key is gentle, dry methods. Less water means longer life.
When to Replace Your Mattress
No amount of cleaning can fix a mattress that’s past its prime. If it’s over 7 years old, has visible sagging, or smells musty even after cleaning, it’s time to replace it. The inner support structure breaks down over time. You’re not just sleeping on dirt - you’re sleeping on failing materials.
A 2024 sleep study from the University of Manchester found that people who replaced mattresses older than 7 years reported 42% fewer nighttime disturbances and better deep sleep. That’s not just comfort - it’s health.
Don’t wait for a visible stain or a bad night’s sleep. If your mattress is over 7 years old, start looking for a replacement. A good one lasts 8-10 years. But only if you keep it clean.