Upholstery Cleaning Assistant
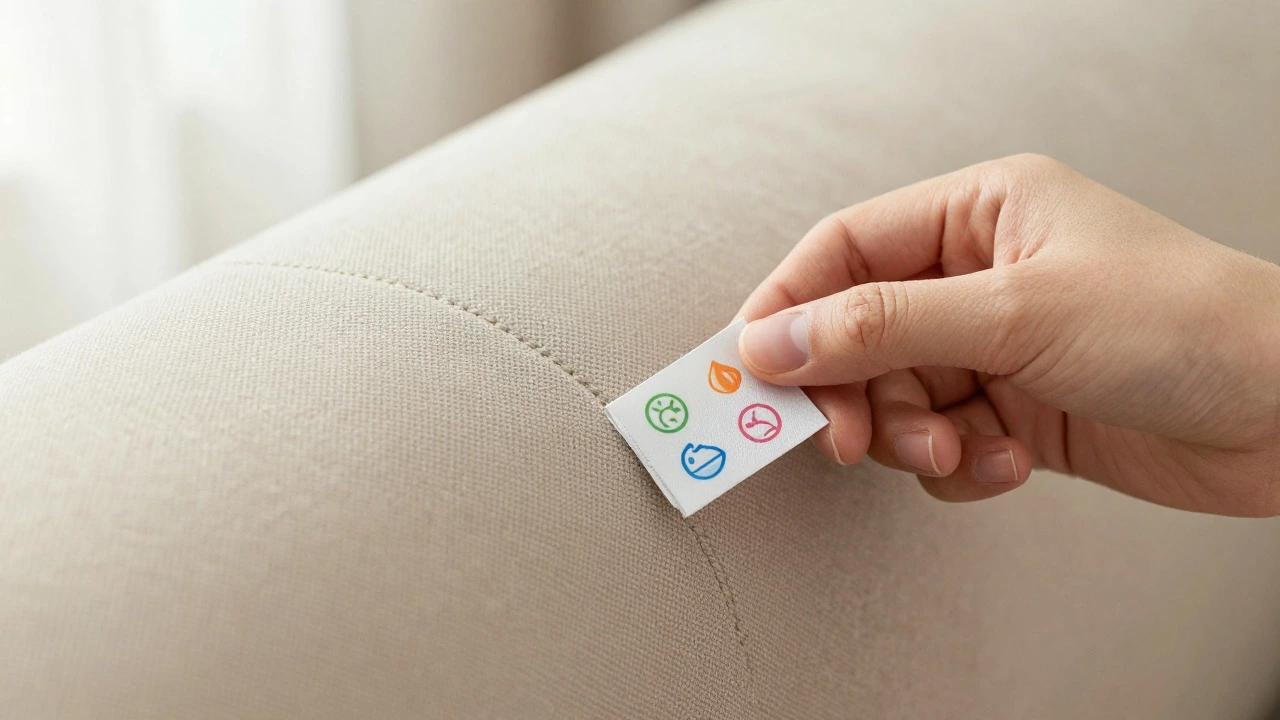
Check the tag on your furniture. If missing, assume it is delicate.
Select a fabric code and stain type above to generate your custom cleaning plan.
That stubborn red wine stain on your beige sofa? It’s been there for three days, and you’re already dreading the cost of calling a professional. Here is the good news: most upholstery issues can be handled at home with the right approach. You don’t need industrial machinery or expensive chemicals. You just need to know how to read the care label, choose the correct method for your fabric, and apply it without causing more damage than the mess itself.
Cleaning upholstery is the process of removing dirt, dust, and stains from furniture covered in fabric, leather, or synthetic materials. Unlike hard surfaces, upholstery traps particles deep within fibers, making standard vacuuming insufficient for true cleanliness. Getting this wrong can lead to water rings, color bleeding, or even mold growth if moisture lingers. This guide breaks down exactly how to tackle different types of upholstery safely and effectively.
Quick Summary / Key Takeaways
- Always check the code: Look for W (water-based), S (solvent-only), WS (both), or X (vacuum only) on the tag.
- Test first: Apply any cleaner to a hidden area like the back leg or under the seat cushion to check for fading.
- Blot, don't rub: Rubbing pushes stains deeper into the weave; blotting lifts them out.
- Dry thoroughly: Use fans or dehumidifiers to prevent mold and odors after wet cleaning.
- Vacuum regularly: Weekly vacuuming prevents dust buildup that requires heavy cleaning later.
Identify Your Fabric Type Before You Start
The single biggest mistake people make is assuming all fabrics behave the same way. They don’t. A microfiber recliner reacts differently to water than a delicate linen armchair. Before grabbing a spray bottle, find the care tag. It’s usually sewn into a seam on the side or bottom of the piece. If you can’t find it, look up the manufacturer’s model number online.
Here is what the common codes mean:
- W: Water-based cleaners are safe. You can use mild soap solutions or steam.
- S: Solvent-based cleaners only. Avoid water as it may cause shrinkage or staining.
- WS: Both water and solvent cleaners are acceptable.
- X: Vacuum only. No liquids allowed. Use a dry-cleaning sponge if needed.
If there is no tag, assume it is delicate. Test a small, inconspicuous area with your chosen cleaner. Wait 24 hours to see if the color fades or the texture changes. This simple step saves thousands of dollars in replacement costs.
Gather the Right Tools and Supplies
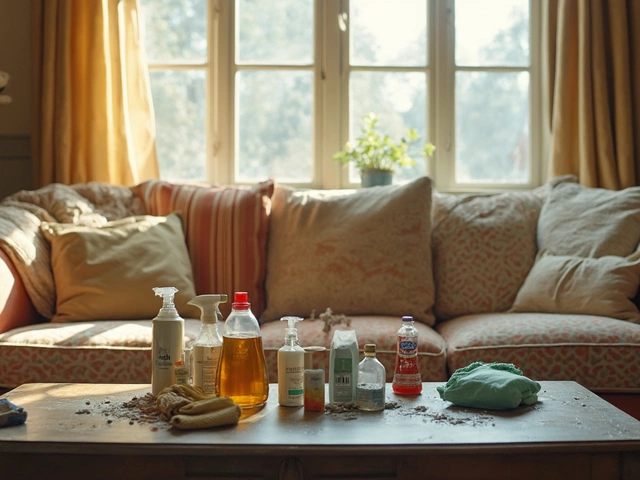
You don’t need a professional extraction machine to do a good job, but you do need the right basics. A cheap bucket and a rag won’t cut it for deep cleaning. Here is what you should have ready:
| Item | Purpose | Pro Tip |
|---|---|---|
| Steam Cleaner | Kills bacteria, loosens dirt without chemicals | Use on 'S' and 'WS' fabrics only; avoid on silk |
| White Vinegar | Natural disinfectant and odor remover | Mix 1:1 with water for general cleaning |
| Baking Soda | Absorbs odors and light stains | Let sit for at least 30 minutes before vacuuming |
| Microfiber Cloths | Lifts dirt without scratching | Use separate cloths for each section to avoid cross-contamination |
| Soft-Bristle Brush | Agitates surface dirt before wiping | Never use wire brushes on fabric |
For tougher stains, keep a specific solution handy. For oil-based stains like grease, cornstarch works wonders. For protein-based stains like blood or sweat, hydrogen peroxide (diluted) is effective on white or light-colored fabrics. Always dilute household products before applying them to upholstery.
Step-by-Step Process for Deep Cleaning
Once you have identified the fabric and gathered your tools, follow this sequence for the best results. Order matters here. Skipping steps can set stains permanently or leave residue behind.
- Vacuum Thoroughly: Remove loose dust, crumbs, and pet hair. Use the crevice tool for seams and corners. This prevents mud-like sludge when you add moisture.
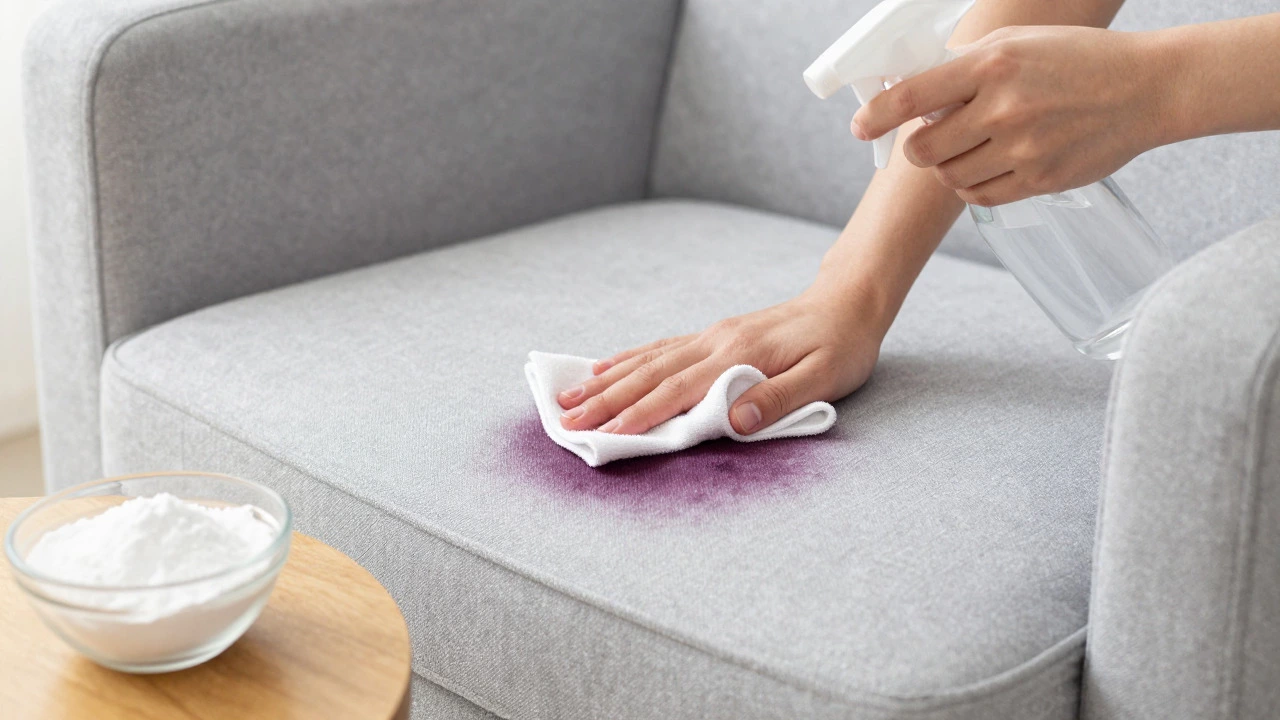
- Treat Stains First: Address visible spots before general cleaning. Blot liquid spills immediately. For dried stains, dampen the area slightly, apply the appropriate cleaner, and let it sit for 5-10 minutes.
- Apply General Cleaner: Work in sections, not the whole sofa at once. Spray lightly so the fabric is damp, not soaking. Use a circular motion with a soft brush or cloth to work the solution into the fibers.
- Rinse or Extract: If using a water-based solution, wipe with a clean, damp cloth to remove soap residue. Soap left behind attracts more dirt over time. If using a steam cleaner, follow the manufacturer’s instructions for distance and pass count.
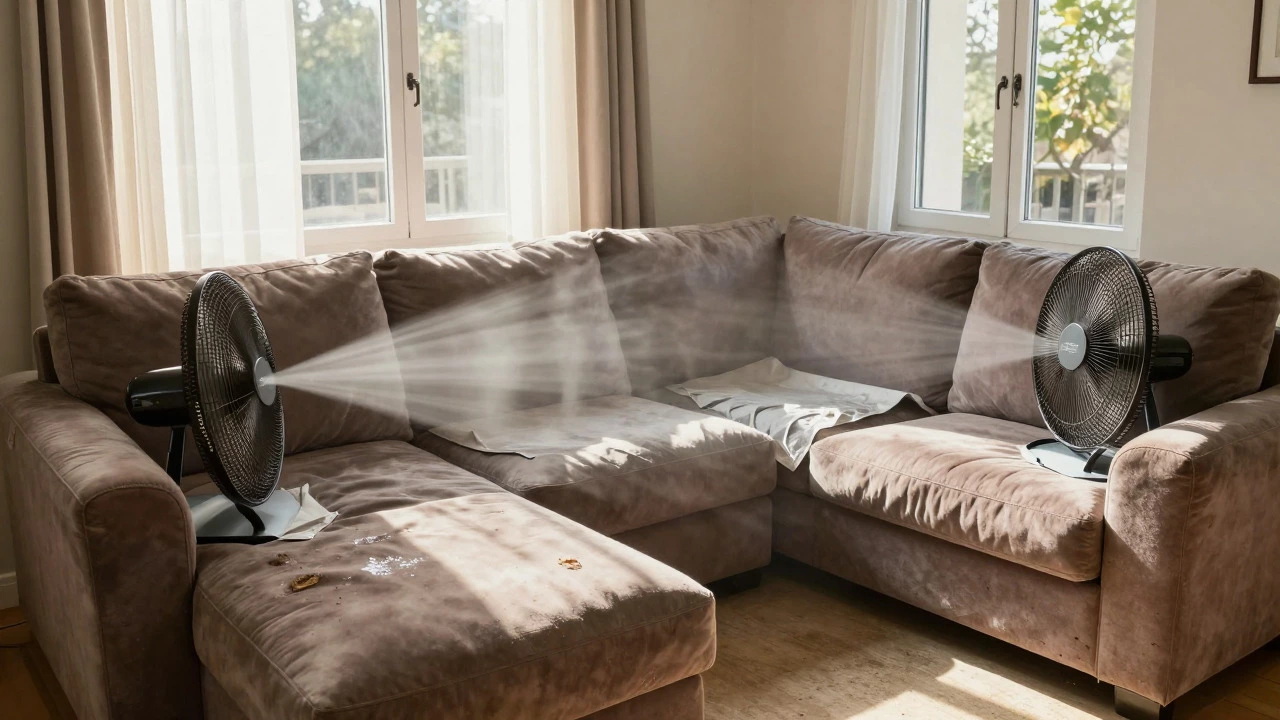
- Dry Completely: Open windows and use fans to circulate air. Flip cushions if possible. Most upholstery takes 24-48 hours to dry fully. Do not sit on it until it is completely dry to avoid re-soiling.
Patience is key during the drying phase. Rushing this step is the leading cause of musty smells and mold spots in cleaned furniture.
Handling Specific Stain Types
General cleaning handles dust and light grime, but specific stains require targeted treatments. Here is how to handle the most common offenders.
Red Wine: Blot immediately with paper towels. Mix one part white vinegar with two parts water. Dab the stain from the outside in. Let it air dry. Avoid hot water, which sets tannins.
Grease/Oil: Sprinkle baking soda or cornstarch on the spot. Let it sit for 15-20 minutes to absorb the oil. Vacuum it up. If a ring remains, apply a drop of dish soap diluted in water, blot, and rinse.
Pet Urine: This is tricky because enzymes linger. Use an enzymatic cleaner specifically designed for pets. Regular cleaners might mask the smell but won’t stop pets from marking the same spot again. Blot, treat, and dry thoroughly.
Ink: Rubbing alcohol is your friend here. Dampen a cotton ball with isopropyl alcohol and dab the ink. Work from the edge inward. Change the cotton ball frequently to avoid spreading the ink.
When to Call a Professional
DIY cleaning works for 90% of situations, but some jobs are better left to experts. Consider hiring a pro if:
- The fabric is antique or high-value (e.g., Italian leather, silk).
- The stain has been present for weeks and has set deeply.
- You suspect mold inside the padding, not just on the surface.
- The furniture is large and difficult to move or dry evenly at home.
Professional services often use truck-mounted extraction equipment that pulls moisture out much faster than shop vacuums. They also have access to specialized solvents for delicate fabrics. However, for routine maintenance and fresh spills, your home kit will save you hundreds of dollars.
Maintenance Tips to Extend Cleanliness
Cleaning is easier if you don’t let dirt build up. Incorporate these habits into your weekly routine:
- Vacuum Weekly: Five minutes a week prevents the need for monthly deep cleans.
- Rotate Cushions: Flip and rotate seat cushions every month to ensure even wear and sun exposure.
- Use Protectors: Slipcovers or furniture protectors shield against spills and daily wear.
- Address Spills Immediately: The longer a spill sits, the harder it is to remove. Keep a spray bottle and microfiber cloth near your main seating areas.
Prevention is always cheaper than remediation. By treating upholstery care as a regular habit rather than a crisis response, you extend the life of your furniture significantly.
Can I use a steam cleaner on any upholstery?
No. Steam is excellent for killing bacteria and loosening dirt, but it uses heat and moisture. Avoid steam on silk, velvet, or any fabric marked with an 'S' (solvent only) code. Always test on a hidden area first. For 'W' and 'WS' fabrics, steam is generally safe and highly effective.
What is the best homemade upholstery cleaner?
A mixture of one cup warm water, one tablespoon white vinegar, and one teaspoon mild dish soap works well for most water-safe fabrics. Shake gently to combine. This solution cuts through grease and neutralizes odors without leaving harsh chemical residues. Test on a small patch first to ensure colorfastness.
How long does upholstery take to dry after cleaning?
Typically 24 to 48 hours, depending on humidity and airflow. Thin fabrics dry faster than thick chenille or velvet. Using fans and opening windows can reduce drying time by up to 50%. Ensure the fabric is completely dry before sitting on it to prevent new stains from setting into damp fibers.
Should I flip cushions while cleaning?
Yes, if they are removable. Flipping cushions ensures both sides are cleaned evenly and helps them dry faster. It also reveals hidden dirt on the underside that accumulates from floor contact. Make sure to let them dry completely before putting them back on the frame.
Is baking soda safe for all fabrics?
Generally, yes. Baking soda is gentle and non-abrasive. It is great for absorbing odors and lifting light stains. However, on very dark or dyed fabrics, let it sit for no more than 30 minutes to avoid potential discoloration. Always vacuum it off thoroughly to prevent grit from wearing down fibers over time.