Post-Construction Cleaning Planner
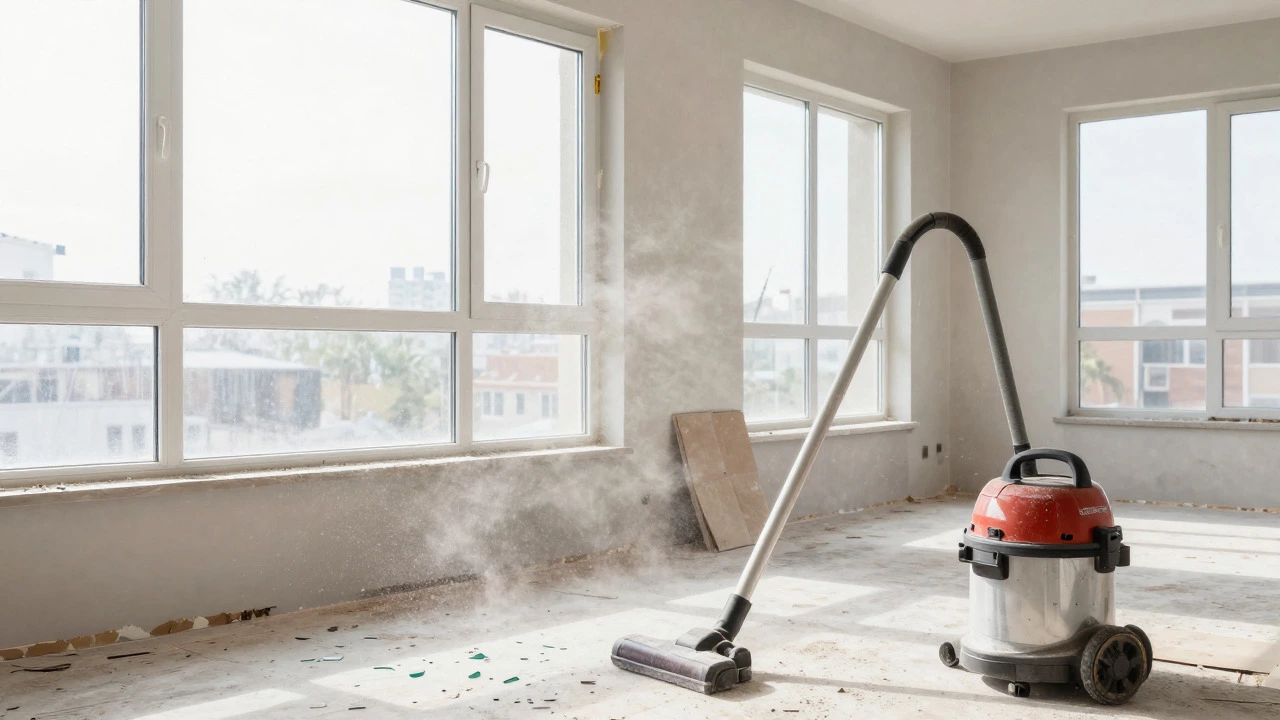
There is nothing quite like the feeling of standing in a newly renovated room. You’ve waited weeks or months for the work to finish. But then you look closer. There’s a fine white powder on every surface. Grout haze coats the tiles. Tiny shards of glass and wood are scattered across the floor. This is the reality of finishing a project with contractors. They leave behind a mess that regular vacuuming won’t touch.
Cleaning a house after builders is not just about tidying up. It is a specific type of deep cleaning known as post-construction cleaning. If you rush this step, you risk damaging new surfaces, voiding warranties, or breathing in harmful dust for months. Doing it right means tackling industrial-grade grime before it settles into your new home’s pores.
Gather the Right Tools Before You Start
You cannot clean construction dust with the same tools you use for daily chores. Standard household vacuums often lack the filtration needed for fine silica dust, which can blow right back out into the air you breathe. You need equipment designed for heavy-duty tasks.
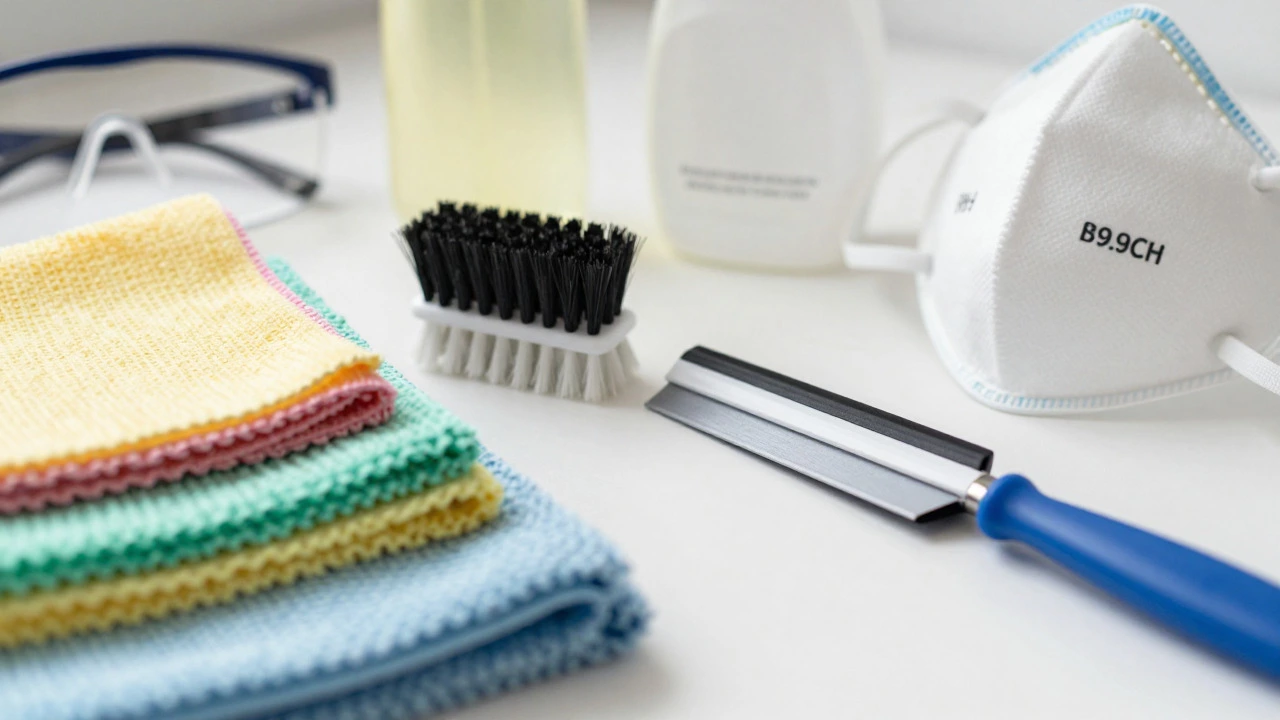
- HEPA-filter vacuum: This is non-negotiable. A High-Efficiency Particulate Air filter traps microscopic particles. Without it, you are just spreading dust around the room.
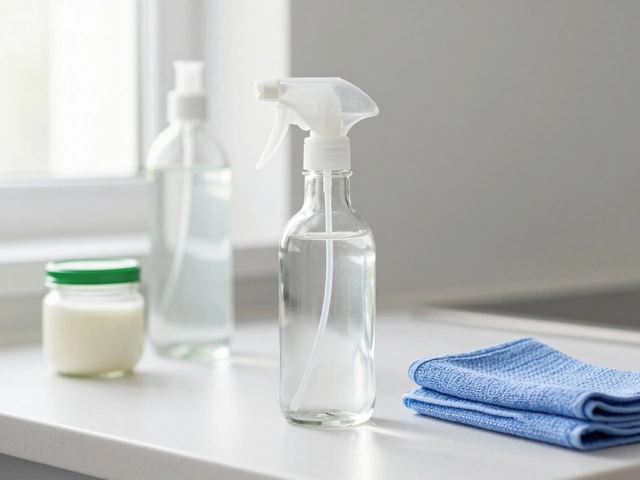
- Microfiber cloths: Use plenty of them. These fabrics trap dust rather than pushing it around like cotton rags do. Keep separate sets for floors, windows, and fixtures.
- Soft-bristled brushes: Old paintbrushes or dedicated detailing brushes help get dust out of window tracks, skirting boards, and light switches without scratching surfaces.
- Squeegees: Essential for removing paint splatters and adhesive from glass. A razor scraper works too, but be gentle to avoid scratching the glass.
- Neutral pH cleaners: Avoid harsh acids or alkalis unless specified by the manufacturer. Neutral cleaners are safe for most stone, tile, and metal surfaces.
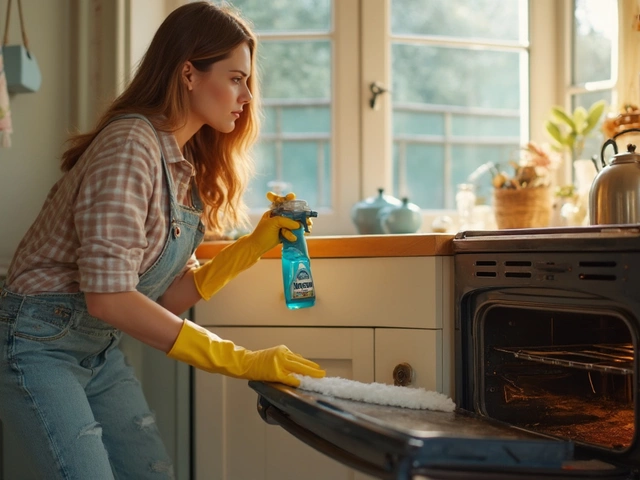
- Protective gear: Wear a mask (N95 or similar) and safety glasses. Construction dust contains silica and other irritants that hurt your lungs and eyes.
Step 1: Remove Large Debris and Rubbish
Before you start wiping anything down, you need to clear the big stuff. Walk through each room and pick up any obvious trash. This includes cardboard boxes, plastic wrapping, empty paint cans, and leftover materials. Put everything into heavy-duty black bags. Tie them securely so dust doesn’t escape when you move them outside.
Check corners and under appliances. Builders often sweep debris under sofas or fridges to hide it temporarily. Pull these items out carefully if possible, or use a long-handled brush to sweep the area clean. Make sure no nails or screws are left on the floor. Stepping on one later is a painful reminder of an incomplete job.
Step 2: Dust From Top to Bottom
Dust follows gravity. If you start at the floor, you will just dirty the surfaces you already cleaned. Always work from the highest point in the room down to the ground. Start with the ceiling. Use a soft brush attachment on your HEPA vacuum to remove cobwebs and dust from corners and light fixtures. Be gentle around recessed lighting to avoid breaking bulbs.
Next, tackle the walls. Use a dry microfiber cloth or a duster to wipe down wall surfaces. Pay attention to switch plates and outlet covers. These collect a surprising amount of dust because they stick out from the wall. Remove the covers if you are comfortable doing so, wipe them clean, and snap them back on.
Don’t forget radiators and vents. Heat rises, so dust accumulates on top of radiators. Use a brush to loosen the dust, then vacuum it up immediately. For air vents, remove the covers, wash them in warm soapy water, let them dry completely, and reinstall them. This ensures your heating and cooling systems don’t blow dust back into the room.
Step 3: Tackle Windows and Glass Surfaces
Windows usually take the biggest hit during construction. Paint splatters, adhesive residue, and cement stains are common. Start by scraping off any thick paint blobs with a razor blade held at a 45-degree angle. Spray the glass with a vinegar-water solution or a commercial glass cleaner. Wipe with a squeegee for a streak-free finish. Follow up with a dry microfiber cloth to catch any remaining moisture.
Window frames and sills need extra attention. Use a small brush to get dust out of the tracks where the window slides. If there is dried sealant or silicone, use a specialist remover or carefully scrape it off with a plastic tool. Metal frames can scratch easily, so avoid abrasive pads here.
Step 4: Clean Floors Last
Floors are the final step because everything above them has been dusted and cleaned. Sweep the entire floor with a soft broom to gather loose debris. Then, vacuum thoroughly using the HEPA filter setting. Go over the edges and corners twice. Fine dust hides in baseboards and carpet fibers.
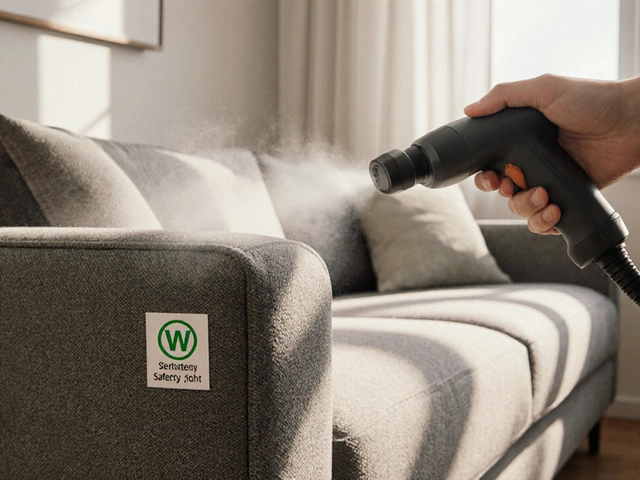
If you have hard floors like tile or wood, mop them with a damp mop and neutral cleaner. Avoid soaking the floor, especially if it is new engineered wood. Excess water can seep into seams and cause warping. For carpets, consider hiring a professional steam cleaner. Construction dirt embeds itself deep into carpet padding, and a standard vacuum might not pull it all out.
Dealing With Specific Stains and Residues
Construction leaves unique marks that require targeted solutions. Here is how to handle the most common ones:
| Stain Type | Surface | Removal Method |
|---|---|---|
| Paint Splatter | Glass, Tile, Metal | Razor scraper followed by glass cleaner or rubbing alcohol. |
| Grout Haze | Tile Floors/Walls | Specialized grout haze remover. Rinse well to prevent etching. |
| Adhesive Residue | Various | Commercial adhesive remover or Goo Gone. Test on a small area first. |
| Cement Stains | Stone, Concrete | Mild acid solution (like diluted muriatic acid) applied carefully. Rinse immediately. |
| Marker/Pen Marks | Walls, Doors | Magic eraser sponge or rubbing alcohol. Buff gently. |
Always test cleaning products on a hidden spot first. New finishes can be sensitive. What works on old tile might damage new polished stone. When in doubt, start with the mildest option-warm water and a soft cloth-and escalate only if necessary.
When to Hire Professionals
While DIY cleaning saves money, some situations call for experts. If the renovation involved major structural changes, asbestos abatement, or extensive plumbing work, the level of contamination might exceed what home tools can handle. Professional post-construction cleaning services have industrial-grade vacuums, steam cleaners, and trained staff who know how to handle hazardous materials safely.
Hiring pros also makes sense if you have tight deadlines. Moving into a clean home quickly reduces stress. Look for companies with reviews specifically mentioning "builder cleans" or "construction cleanup." General house cleaners might not understand the difference between everyday dirt and construction grit.
Air Quality and Final Touches
Once the visible dirt is gone, focus on the air. Open all windows and doors to create cross-ventilation. Run fans to push stale air out. Consider using an air purifier with a HEPA filter for a few days to capture lingering particles. This is especially important if anyone in the household has allergies or respiratory issues.
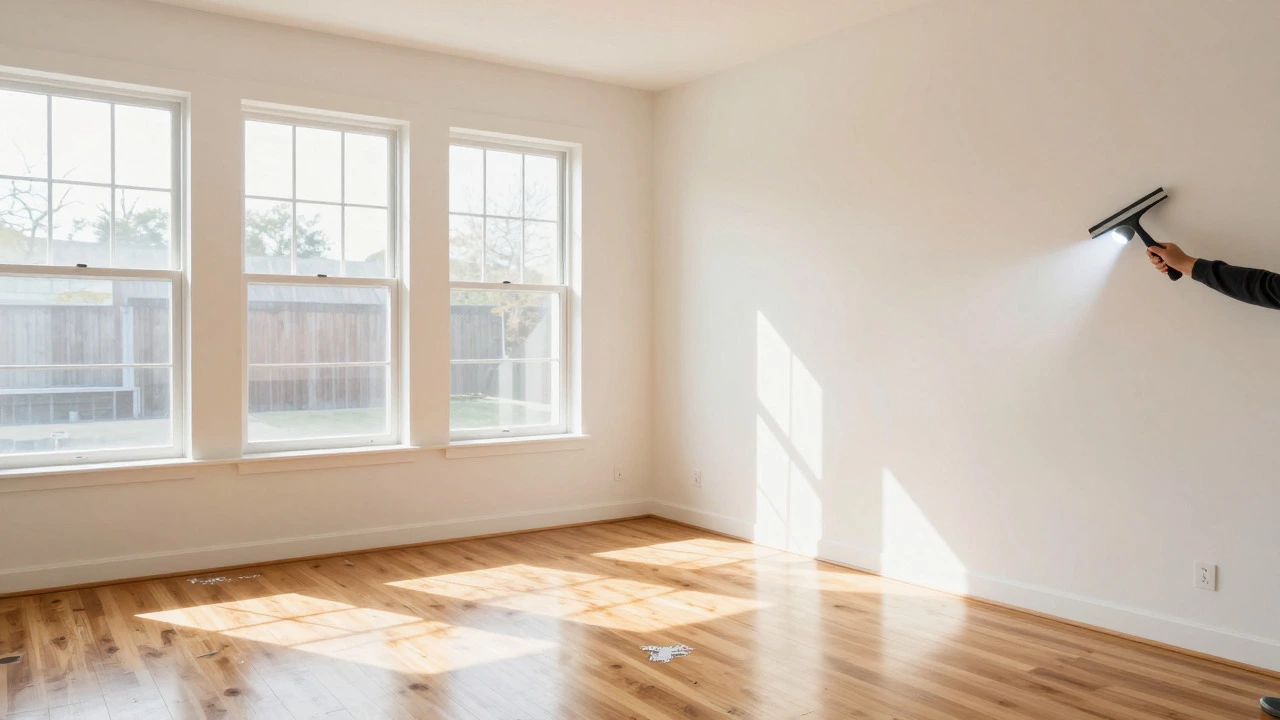
Do a final walk-through with a flashlight. Shine it across walls and ceilings at an angle. This highlights dust specks and smudges that are invisible under normal light. Fix any missed spots now. Check that all fixtures are secure and clean. Ensure cabinets open and close smoothly without sticking due to dust buildup in hinges.
How long does it take to clean a house after builders?
It depends on the size of the project. A single room renovation might take 4-6 hours. A full-house renovation could take 2-3 days for a thorough DIY clean. Hiring professionals can cut this time significantly, often completing a whole house in one day.
Can I use my regular vacuum for construction dust?
Not recommended. Regular vacuums often lack HEPA filters and may blow fine silica dust back into the air. This dust can clog the motor and reduce suction power. Use a shop vac with a HEPA filter or a dedicated HEPA household vacuum.
What is the best way to remove paint from tiles?
Use a razor blade held at a 45-degree angle to gently scrape off the paint. For stubborn spots, apply a bit of rubbing alcohol or a commercial paint remover. Avoid abrasive scrubbers that can scratch the glaze.
Should I clean before or after moving furniture back in?
Clean as much as possible before moving furniture back in. This gives you access to floors and walls. However, leave large items like sofas until the very end if they protect the floor from further damage during the cleaning process. Just ensure you vacuum underneath them once they are placed.
Is construction dust dangerous?
Yes, especially silica dust from cutting concrete or brick. Long-term exposure can cause respiratory issues. Always wear a mask, keep windows open, and use HEPA filtration to minimize health risks.