Cleaning windows may not be everyone's favorite weekend activity, but trust me, it doesn't have to be a daunting chore. For those eager to ditch the commercial products, homemade window cleaning solutions offer a fantastic alternative. They're not only budget-friendly but also gentler on the environment, which is a win-win if you're inclined toward sustainable living.
This article will dive into the realm of DIY cleaning with a focus on creating solutions that work wonders. Whether you're facing stubborn smudges or just want to maintain your windows' sparkle, these insights will surely come in handy. From selecting the right ingredients to ensuring a streak-free shine, let's uncover how you can transform your windows with ingredients right from your kitchen cupboard.
- Why Choose Homemade Solutions?
- Essential Ingredients and Their Benefits
- Step-by-Step Recipe for a DIY Cleaner
- Avoiding Common Window Cleaning Mistakes
- Tips for a Streak-Free Finish
- Maintaining Your Windows for Long-Lasting Shine
Why Choose Homemade Solutions?
When it comes to window cleaning, opting for homemade solutions is becoming increasingly popular for a variety of compelling reasons. First and foremost, the environmental impact can't be overstated. Commercial cleaners often contain harsh chemicals that not only pose potential health risks for individuals but also contribute to pollution when they enter waterways. By choosing homemade solutions, you're reducing this environmental footprint significantly. This simple switch aligns well with a growing preference for green living.
Moreover, DIY solutions offer a cost advantage that's hard to ignore. Most of the ingredients required for a homemade window cleaner, such as vinegar, baking soda, or essential oils, are typically already present in a household. These not only make window cleaning more economical but also add to the convenience factor—no more last-minute trips to the store just because the cleaner ran out. Plus, with these solutions, you gain control over what's inside the bottle. You can customize the scent and concentration of your cleaner, tailoring it to meet your particular needs and preferences.
Additionally, there's an aspect of safety, especially for households with small children or pets. The ingestion of commercial cleaning products can lead to medical emergencies, while most homemade solutions, being made from common kitchen ingredients, are non-toxic and safe. Even the act of breathing in their fumes as you scrub away is less irritating compared to their chemical-laden counterparts. According to environmental scientist Dr. Harriet Cameron, "Reducing chemical exposure in the home, even in seemingly small ways like switching to natural cleaning products, can have long-term health benefits for the entire family."
Efficiency and Variety
Despite concerns some might have about their effectiveness, homemade window cleaners are actually quite capable. Vinegar, for instance, is known for its ability to cut through grease and dissolve mineral deposits, while baking soda can scrub away stubborn stains without scratching the glass. Many users report that these natural cleansers work just as well, if not better, than those you'd buy from a store. In fact, some DIY enthusiasts argue that adding a few drops of essential oil can leave a window not only clean but also pleasingly aromatic.Lastly, experimenting with DIY window cleaner formulations can be surprisingly satisfying. It turns a mundane chore into a small creative venture. Maybe you'll discover that a dash more vinegar adds the perfect shine, or perhaps lemon essential oil is just what you need for that lingering touch of freshness. It’s this blend of creativity, cost-efficiency, safety, and eco-consciousness that invites many to retake their windows with their own crafted solutions.
Essential Ingredients and Their Benefits
When it comes to creating a homemade window cleaning solution, the pantry often holds the secrets to a spotless, sparkling clean window. Not only are these ingredients accessible, but they are also effective and typically safer than many commercial products filled with unpronounceable chemicals. One of the primary ingredients you'll find indispensable is vinegar, specifically white vinegar. Known for its acidic properties, it effortlessly cuts through grease and grime. This natural acidity makes it a superb agent for breaking down dirt on glass surfaces, leaving them streak-free and clear. Interestingly, the use of vinegar for cleaning dates back centuries, with historical texts often referencing its utility in household chores.
Adding to vinegar, baking soda is another staple that deserves a spot in your cleaning arsenal. While primarily known for its leavening abilities in baking, its abrasive texture is perfect for scrubbing off accumulated debris without scratching the glass. It also helps to neutralize odors, giving your windows a fresh scent rather than the overwhelming fragrances that some store-bought cleaners can leave behind. Mixing a touch of baking soda with vinegar not only creates an effervescent cleaning duo but also ensures that even the most stubborn marks are ousted, leaving behind nothing but clarity.
For those who are averse to the smell of vinegar, introducing a little lemon juice to your cleaning concoction can be transformative. Lemon juice, rich in citric acid, shares similar properties to vinegar, aiding in grease removal while adding a pleasant, fresh aroma. Beyond its cleaning prowess, lemon juice also imparts extra shine to the glass surfaces, making them glisten in the sunlight. Many cleaning enthusiasts swear by this citrus fruit for its dual role in combatting dirt and leaving behind an invigorating scent.
Cathy Roberts, a home cleaning expert with over 20 years of experience, once shared, "A homemade solution of vinegar and lemon is not just great for your windows, but it also eliminates the need for multiple cleaners in your home."
If you're looking for a touch of luxury in your cleaning recipe, adding a few drops of essential oils such as tea tree or lavender oils can elevate your cleaning routine. Tea tree oil, with its natural antiseptic properties, is excellent for not only cleaning but also disinfecting surfaces. Meanwhile, lavender provides a calming scent that turns a mundane task into a more pleasurable experience. It’s a small addition that makes a big difference, particularly to the aroma left after cleaning.
| Ingredient | Benefits |
|---|---|
| White Vinegar | Degreases, removes grime, and reduces streaking. |
| Baking Soda | Abrasive for scrubbing without scratching, neutralizes odors. |
| Lemon Juice | Cuts through grease, adds shine, provides a pleasant scent. |
| Essential Oils | Antiseptic and aromatic properties, improves cleaning experience. |
Now that you know the essential ingredients for a robust DIY window cleaning solution, combining these elements can make the task not only efficient but also enjoyable. Remember, the key to effective cleaning lies not just in the products you use but how you use them. With just a few simple ingredients, your windows can look their best, reflecting the world outside with pristine clarity and a fresh scent that feels inviting and crisp.
Step-by-Step Recipe for a DIY Cleaner
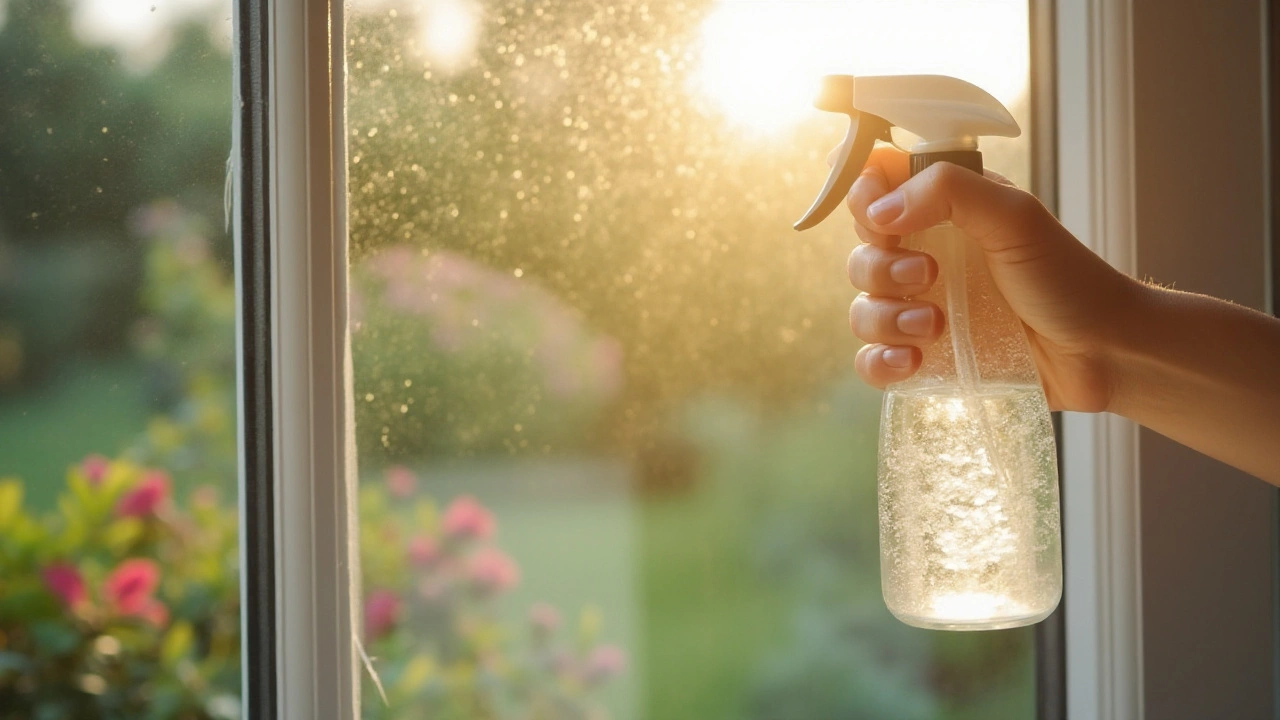
Making your very own DIY window cleaner is not just a project; it’s a journey into effective, sustainable cleaning methods. The ingredients are simple and typically found within your kitchen, so you don't need to make a special trip to the store. Creating this homemade solution requires a perfect blend of nature and science, utilizing common household items to achieve brilliant results without the harsh chemicals found in many store-bought alternatives. Embracing such eco-friendly practices not only reduces chemical exposure but also minimizes the impact on our planet, aligning with today’s environmentally conscious living.
Begin by gathering your materials. You’ll need white vinegar, which is a star because of its acidic nature capable of breaking down grime and lifting stubborn residue. Next, you'll add rubbing alcohol, known for its fast-drying ability that helps prevent streaks. Water acts as a base, diluting the mixture for ease of use. Lastly, cornstarch plays a fascinating role; its fine texture adds a gentle abrasive element, giving your windows that coveted gleam. These four ingredients together form a powerhouse cleaner that's both cost-efficient and highly effective.
Mary Findley, a cleaning expert and author of The Complete Idiot's Guide to Green Cleaning, highlights, “Making your household cleaners at home isn’t just about saving money. It’s about empowering yourself to take control over the substances you’re bringing into your home and onto surfaces your family touches regularly.”
Now, let's break down the steps. Pour equal parts, about one cup each, of vinegar and water into a spray bottle. Then add half a cup of rubbing alcohol and a tablespoon of cornstarch. Shake the bottle well to ensure everything mixes thoroughly and there's no cornstarch sediment settling at the bottom, which could clog the spray. This precise combination ensures a robust solution, actively cutting through dirt and leaving mirrors and glass surfaces sparkling.
With this homemade mixture ready, consider its benefits beyond just window cleaning. This versatile solution excels at other tasks, such as wiping down glass tables, shining up mirrors, and even giving your shower doors a new lease of life. Keeping a bottle handy empowers you to combat dust and grime whenever it strikes. Notably, a study performed by the American Cleaning Institute found that regular maintenance using vinegar-based solutions can prolong the cleanliness of windows by reducing the build-up of everyday pollutants.
Avoiding Common Window Cleaning Mistakes
When undertaking the task of cleaning windows, it's easy to stumble into a few pitfalls that can leave your branches of glass less than pristine. One common error is choosing a sunny day to get the job done. While it might seem like a good idea to have the sun on your side, shining brightly to reveal every streak and smudge, it actually does more harm than good. The heat from the sun can cause your DIY window cleaner to dry too quickly on the glass, leading to those pesky streaks that can make the window appear hazier than before you started. Instead, aim for a cloudy day or tackle the chore early in the morning when the sun is softer.
Another misstep involves the choice of cleaning tools. While many might reach instinctively for a paper towel or newspaper, these can leave behind lint or disintegrate when wet, complicating the process. Opt for a microfiber cloth instead, as it effectively captures dirt without introducing lint. This simple switch can significantly enhance the clarity and sparkle of your freshly cleaned windows.
It's also crucial to pay attention to the direction in which you wipe. One effective technique is to use vertical strokes on one side of the window and horizontal strokes on the other. This way, if any streaks remain, it's easier to identify which side needs extra attention. Consistency in cleaning direction ensures that no segment of your window is neglected.
Proper dilution of your cleaning solution is often underestimated in its importance. Too much soap or vinegar can leave behind a film or residue that attracts more dirt. Following the right recipe proportions ensures your windows remain clean for longer. In fact, Martha Stewart, renowned for her housekeeping wisdom, says, "When it comes to homemade solutions for cleaning, precise measurements are key to avoiding build-up and ensuring a streak-free finish."
Let's not forget the importance of the window frames and sills. It's easy to concentrate solely on the glass itself, but neglecting these crucial parts can lead to dirt and grime slowly creeping back onto your panes, undoing all your hard work. Regular attention to these areas not only keeps your windows cleaner for longer but also extends their lifespan by preventing damage from accumulated muck.
Finally, patience is a virtue in window cleaning. Rushing through the task can lead to overlooked spots or inadequate rinsing. Take your time to enjoy the process and new clarity you bring to your home. By avoiding these common mistakes, you ensure that your windows remain a clear reflection of your meticulous cleaning efforts and dedication to a brighter, more inviting home.

Tips for a Streak-Free Finish
Achieving a streak-free finish on your windows can elevate the entire look of your home, inside and out. It is often the final goal of any window cleaning endeavor, and many people ask how it can be done efficiently without those annoying lines or smears ruining their hard work. First and foremost, timing plays a crucial role. Cleaning windows on a cool, cloudy day can prevent the cleaning solution from drying too quickly, which is a common cause of streaks. When sunlight is directly on the glass, the heat can cause the cleaner to evaporate too fast, leaving those unseemly marks behind.
Another key tip is the direction of your strokes. Use a technique where you clean vertical strokes on one side of the glass, alternating with horizontal ones on the other. This helps you determine which side needs more attention if streaks appear. Newspaper has long been touted as a secret weapon against streaks because it doesn’t leave behind lint the way towels can, and it's also a great way to recycle materials. However, microfiber cloths are also an excellent choice as they are designed to trap dust and absorb the remaining solution with ease.
Choosing the right cleaning solution is essential, and believe it or not, less is more. A simple mix of vinegar and water can be just as effective as a branded product. Make sure to use distilled water in your solution if possible, as tap water contains minerals that can linger on the glass and cause cloudiness. Some experts, such as home cleaning specialist Martha Stewart, recommend adding a drop of dish soap to your solution if the windows are particularly grimy and need a little extra punch to cut through the grime.
"The secret to perfectly clean windows lies in the patience and the right tools," says Stewart. "Choose tools that can handle the job, like a high-quality squeegee, to reduce streaking and achieve a perfect result."Indeed, using a squeegee can make all the difference. When using a squeegee, start at the top of the window and work your way down, wiping the rubber blade after each pass with a lint-free cloth to avoid transferring dirt back onto the glass. This technique not only provides a streak-free finish but also makes the process faster and easier.
Don't forget the power of detail work. After the primary cleaning, inspect your glass from different angles to catch sneaky streaks that might otherwise go unnoticed. Often, another quick pass with a dry cloth can resolve these finishing touches. Lastly, don't overlook the edges and corners of windows, where residues often linger and create visible lines against the light. Taking these into consideration ensures you leave no sign of a cleaning line, leading to windows that are crystal clear.
Maintaining Your Windows for Long-Lasting Shine
Keeping windows looking pristine isn't just about the occasional deep clean. To truly enjoy a long-lasting shine, incorporating window cleaning into a regular maintenance routine is key. Start by setting a schedule based on your environment; for instance, homes near busy roads or in industrial areas might need a more frequent touch-up. One simple action you can take is to routinely dust the window sills and frames. Dust particles can contribute to smudges and create a film of grime over time. By nipping this in the bud, you minimize build-up, making the actual cleaning job much easier when it comes time for a thorough wash.
A critical factor in maintaining your windows is addressing any stains or spots as soon as they appear. An impromptu rain shower or accidental splashes can leave mineral deposits, which if left unmanaged, morph into unpleasant, stubborn stains. Using a soft microfiber cloth and a spritz of your trusty DIY window cleaner, these spots can be quickly managed. This proactive method protects your windows from potential damage caused by prolonged exposure to hard water marks.
It's essential not to ignore the condition of the window seals and frames. They play a pivotal role in ensuring your windows not only look good but also function optimally. Inspect these parts regularly for any signs of wear or damage. Address these promptly to prevent more significant issues, such as drafts or leaks, which could compromise your comfort and possibly increase energy bills. By simply resealing or repainting damaged areas, oftentimes, you can extend the life of your windows significantly.
Proper storage of cleaning tools is often overlooked. However, ensuring that your squeegees, cloths, and brushes are clean and dry after use prolongs their lifespan and ensures they are ready for the next cleaning day. Investing in quality tools can make a noticeable difference in results, leaving your windows with that professionally cleaned look. Consider using a hose with a spray attachment for quick exterior rinse-offs, particularly after pollen season or dusty summer days.
Jill Nystul, the home maintenance guru behind the blog, One Good Thing, notes, "Consistent care is your best friend when it comes to windows. The less dirt and grime you allow to settle, the easier your life will be when tackling those bigger cleaning days."
Finally, be mindful of seasonal challenges. Winter can introduce freezing conditions that might impact your cleaning habits, while spring often arrives with pollen and budding foliage increasing the potential for dust and allergens. By adapting your approach based on these seasonal changes—such as opting for a vinegar mix during icy months to prevent freezing—you'll maintain a year-round sparkle that keeps your windows the talk of the neighborhood.
