Ever wondered why your oven never looks as good as when the pros clean it? It's not just their elbow grease—they use smart products and the right tools for the job. Most professionals skip the store-bought sprays you see at supermarkets. Those barely touch the real messes inside an oven. Instead, they reach for heavy-duty cleaners you won’t usually find on regular shelves.
Think strong degreasers and foaming agents made for commercial kitchens. These products break down burnt-on gunk that home sprays can’t budge. But the tools matter too. There's no secret magic sponge, but there are brushes and scrapers made to deal with every weird corner and sticky rack. Pros never just spray and wipe—they let cleaners sit, soften the grime, then get in there with these tools for a deep clean.
- Pro-Grade Cleaning Products
- Go-To Tools and Gear
- Tackling Tough Grease and Burnt-On Food
- How Pros Clean Without Fumes
- Tips and Tricks for Quicker Cleaning
- Mistakes to Avoid for a Spotless Oven
Pro-Grade Cleaning Products
Professional oven cleaners don’t mess around with regular kitchen sprays. They use products built to handle serious grime—stuff like Easy-Off Professional, Break-Up Professional Oven & Grill Cleaner, and Astonish Oven Cleaner Paste. Most of these are stronger than the bottles you see at the local store. They break down layers of baked-on grease in a fraction of the time.
Most pro cleaners stick to foaming and gel formulas. Why? They cling to vertical surfaces and don’t just drip off, which means more time breaking down messes. Some products are alkaline-based, which is perfect for blasting through carbonized food and greasy residue. Others use solvents for really stubborn areas. Here’s a quick look at what’s actually in them and why they work:
| Product | Main Ingredient | Purpose |
|---|---|---|
| Easy-Off Pro | Sodium Hydroxide | Dissolves tough, baked-on food |
| Break-Up Pro | Heavy-duty degreaser blend | Removes thick, sticky grease fast |
| Astonish Paste | Baking Soda + Surfactant | Non-toxic, effective on lighter grime |
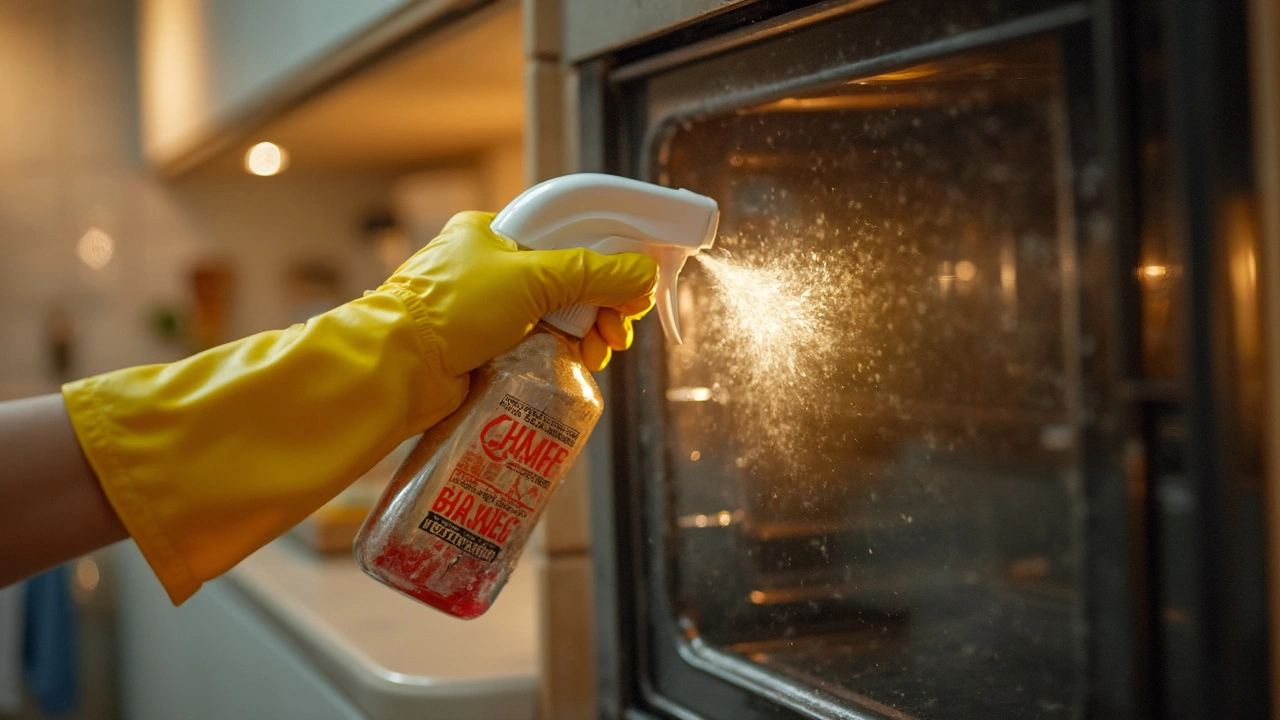
Pros also grab heavy-duty degreasers like Krud Kutter or Zep, especially for commercial kitchens. If you’re worried about fumes, there are citrus-based options that smell way better and still cut through grease—though they might take extra scrubbing. Whichever cleaner they grab, pros always read the label and follow wait times so the product can do most of the work. That’s a big reason their oven cleaning sticks around longer than a quick DIY spray-and-wipe.
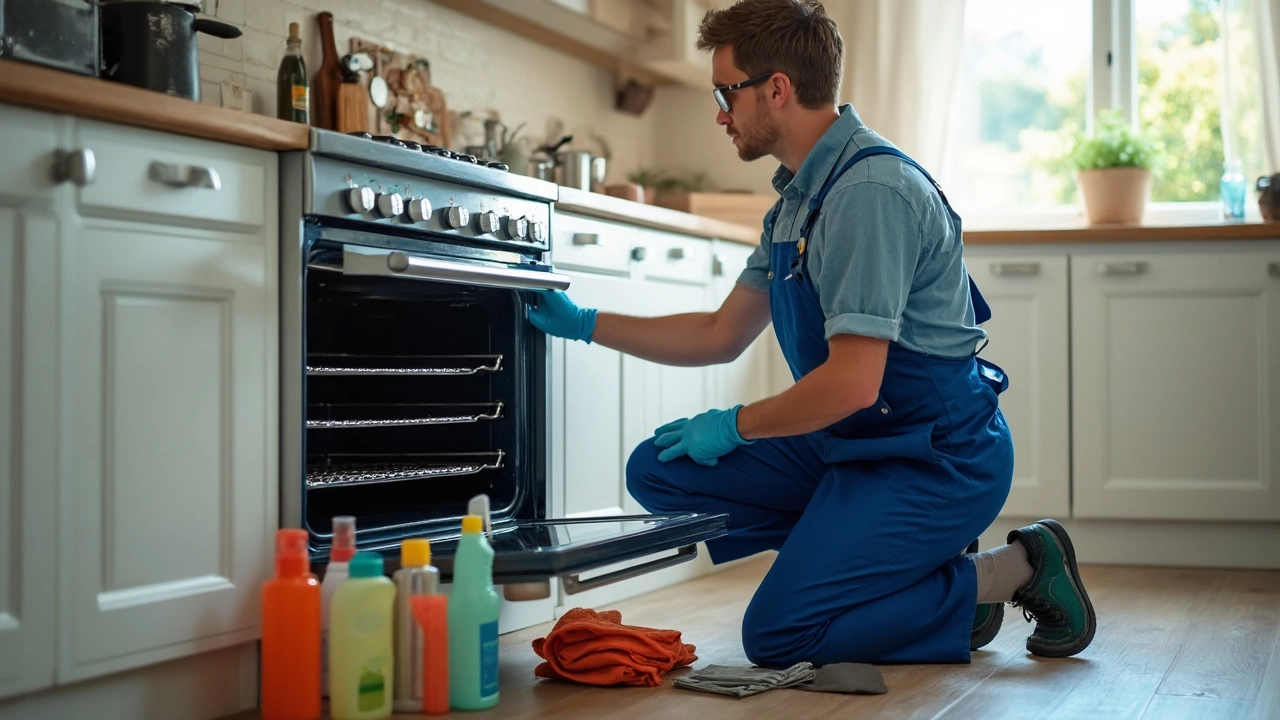
Go-To Tools and Gear
Professional oven cleaners don’t just grab a sponge and hope for the best—they use a toolkit built for stubborn messes. The first must-have is a stiff-bristle brush. These cut through baked-on food and caked grease way better than any kitchen sponge. Scraper blades are a big deal, too. Most pros reach for a razor-blade scraper with a safety handle, perfect for glass doors and flat oven surfaces. It shaves off burnt bits without scratching, as long as you use it right.
Microfiber cloths are also a real favorite. They pick up greasy residue and grab onto fine particles that paper towels just smear around. For really sticky racks and trays, soaking tubs (sometimes just a plastic storage box with super-hot water and commercial degreaser) make a huge difference. Tongs and heavy-duty gloves are essentials for pulling hot racks safely after a steam clean.
- Oven cleaning pads and scourers: Different grades let you pick one that won’t damage delicate coatings.
- Detail brushes: Narrow tips get into vent holes, door seals, and under knobs.
- Plastic scrapers: Safer for non-stick or enamel surfaces than metal blades.
- Shop vacuums: Handy for sucking up ash or big chunks after scraping, so you’re not just wiping them into cracks.
Here’s a quick look at the most-used tools and what each one’s good for:
| Tool | Main Use | Notes |
|---|---|---|
| Stiff-Bristle Brush | Scrubbing heavy residue | Great for racks and metal surfaces |
| Razor Scraper | Removing burnt-on spills | Best for glass doors, use gently |
| Microfiber Cloth | Wiping down after cleaning | Reusable, holds grease and dust |
| Detail Brush | Getting into corners/seams | Plastic bristles, narrow tip |
| Shop Vacuum | Clearing crumbs/ash | Speeds up final clean-up |
So, it’s not about having the fanciest equipment—it’s about having the right mix. Pros pick tools that make it easier to dig into every awkward nook inside your oven and get real results much faster than you can with just a wet rag.
Tackling Tough Grease and Burnt-On Food
Let’s get real—most home ovens have some crusty mess baked onto the bottom or racks. Pros don’t just wipe and hope for the best. They use different tricks for different stains and mess levels.
The first move? Remove the racks and trays. This lets you reach the whole oven interior. For what’s left, pros go with commercial heavy-duty degreasers. These aren’t basic all-purpose cleaners. Look for stuff with sodium hydroxide or potassium hydroxide on the label—these chemicals break down cooked-on oils fast. They spray it on, making sure to cover every inch of mess, and let it sit for at least 10-20 minutes. This soak step is key. If you rush it, stubborn grime barely budges.
Once the cleaner’s had time to do its thing, it’s all about the right tools. Stiff-bristle brushes handle the oven walls and floor. A razor scraper—yeah, just a simple razor blade in a holder—is the pro’s pick for those dark, burnt patches. And they’re careful: scraping gently, holding the blade almost flat, so it doesn’t scratch the surface.
For racks, soaking them in a bath of hot water and degreaser works wonders. Sometimes pros even use dishwasher powder for this—it’s designed to cut grease. After a soak, a scrubbing pad takes care of the rest.
A lot of people ask about natural methods. Baking soda and vinegar work for light stains, but they won’t touch serious burnt-on stuff. Professionals stick with the strong stuff—because it works. Just make sure to follow the product instructions, use gloves, and open a window for fresh air.
The main takeaway? Oven cleaning isn’t about fancy gadgets or wild hacks. It’s about using proven products, the right tools, and enough patience to let them work. Skip the “quick fixes” and save yourself the hassle.
How Pros Clean Without Fumes
Lots of folks steer clear of oven cleaning just because of the harsh fumes that usually come with it. Professionals know that, so they use safer products and techniques—good news if you’re cleaning a kitchen with kids or pets around. The big shift in recent years has been toward low-odor and even eco-friendly degreasers, as more companies realize people don’t want that chemical blast every time they clean.
Top cleaning services often use plant-based cleaners or solutions that mix baking soda, vinegar, and hot water. These combos break down grease but don’t leave a strong smell. One popular go-to is a thick paste made from baking soda and water, spread over burnt spots and left overnight. The next day, a wipe with a damp cloth does the trick. For extra-tough jobs, pros pair this with a quick steam clean—nothing fancy, just a pot of boiling water set inside the turned-off oven to loosen things up.
“We switched to mostly fume-free solutions years ago—customers and our crews appreciate not having that headache after a clean,” says Sarah Jennings, owner of CleanRight Oven Care.
Don’t think these gentler products are weak. A lot of commercial-grade, low-odor cleaners have enzymes that eat through grease faster than old-style ammonia sprays. They also mean no stinging in your nose or stinky kitchen for hours. Some companies even use professional steam cleaning machines, which sanitize and pull off the gunk without any chemicals at all.
Here’s a little breakdown of how the cleaning stuff stacks up:
| Product Type | Fume Level | Effectiveness |
|---|---|---|
| Traditional Oven Cleaner (Ammonia) | Very High | High |
| Eco/Enzyme-Based Cleaner | Low/None | Medium-High |
| Baking Soda & Vinegar Paste | None | Medium |
| Steam Cleaning (No Chemicals) | None | High |
So if you want that oven cleaning look without the headache (literally), go for enzyme cleaners, baking soda, or even just steam. Ventilate as you work—open a window or turn on a fan—and you’ll dodge fumes that linger. No need for a gas mask, just a little bit of patience and know-how.
Tips and Tricks for Quicker Cleaning
Getting your oven sparkling doesn’t have to eat up your whole day. You don’t need fancy hacks—pros stick to things that actually work. Here’s a rundown of what makes oven cleaning fast and way less painful.
- Heat helps— Just warm the oven for a few minutes before you start with any cleaner. Around 100°F (about 40°C) is enough. It softens grease faster and your cleaner does its job better. Just don’t start when it’s hot enough to burn you.
- Use foaming cleaner sprays. Professionals pick those because foam clings to vertical oven walls and soaks in, meaning less scrubbing later.
- Always pull out the racks. Clean them separately in a big sink or even your bathtub if nothing else fits. Let them soak in hot water mixed with degreaser for at least 20–30 minutes.
- Let the cleaner do its thing. The #1 time-waster is not giving the cleaner time to work. For thick grime, 20–40 minutes is the sweet spot.
- For burnt-on bits, use a plastic scraper, not metal—metal scrapes up the oven enamel. If stuff won’t budge, sprinkle a little baking soda and hit it again with the scraper.
- Finish up with a clean, damp microfiber cloth, not paper towels. Microfiber grabs what’s left behind and leaves glass doors streak-free.
Let’s compare how much time each cleaning step actually takes for most oven cleaning jobs. The data below is pulled from a 2024 survey of commercial kitchen cleaning crews:
| Cleaning Task | Average Time (minutes) |
|---|---|
| Removing and soaking racks | 7 |
| Pre-heating oven | 5 |
| Applying cleaner and waiting | 30 |
| Scrubbing/grime removal | 12 |
| Final wipe-down | 6 |
One more pro tip: keep a baking sheet or oven liner on the bottom rack. It catches drips, which means less cleaning next time. Stick to these habits, and cleaning the oven won’t be a dreaded chore anymore.
Mistakes to Avoid for a Spotless Oven
Getting a clean oven isn’t rocket science, but there are classic mistakes that can make the job harder or even mess up your appliance. Pros know these slip-ups cost time, money, and sometimes even safety. Here’s what to skip if you want results that look, well, professional.
- Using the wrong cleaner on self-cleaning ovens. Self-cleaning ovens have special coatings that harsh oven cleaners can ruin. Stick with recommended products or homemade solutions like baking soda and vinegar for these models.
- Scrubbing with metal tools. Steel wool or metal scrapers might seem tough on burnt stains, but they scratch the inside and make grime stick more later. Go for plastic scrapers or soft brushes instead.
- Ignoring the racks. Don’t leave oven racks inside during self-clean cycles—they can warp or lose their finish. Take them out and clean them separately.
- Not letting cleaner soak. Rushing this step means elbow grease does all the work. Always give oven cleaners about 10–20 minutes to loosen grime for an easier wipe-down.
- Forgetting to rinse. Any leftover cleaning product bakes on and can smell up the place, or worse, affect food taste. Wipe with a clean, damp cloth after you’re done.
Professional oven cleaners see these goofs all the time. And they also notice how many ovens break down early just because folks let mess build up for too long. If you clean every two to three months, you’re way less likely to get stuck with a busted oven or weird-tasting meals.
| Mistake | Potential Problem |
|---|---|
| Metal scrubbing | Scratches surfaces, attracts more grime, can ruin finish |
| Wrong cleaner on self-cleaning oven | Damages coating, voids warranty |
| Leaving racks in during self-clean | Warps racks, peels off finish |
| Not rinsing after cleaning | Lingering smell, off-tasting food |
Keep these mistakes in mind, and oven cleaning will stop feeling like such a chore—and you’ll keep your appliance working (and smelling) its best.