Carpet Cleaning Method Advisor
There is nothing quite like the feeling of stepping onto a fresh, fluffy carpet. But that feeling fades fast when you notice the greyish haze, the lingering pet odors, or the stubborn coffee ring from last Tuesday. You don't need to hire an expensive professional service to get your floors back to looking brand new. With the right tools and a bit of elbow grease, you can deep clean your carpet yourself in under two hours.
This guide walks you through the exact process, from prepping the room to the final drying stage. We will cover the best methods for different types of dirt, how to avoid common mistakes that damage fibers, and which products actually work versus those that just sit on top of the pile. Whether you have high-traffic living rooms or delicate wool rugs, this approach works for most household scenarios.
Why Surface Vacuuming Isn't Enough
Most people vacuum their carpets once or twice a week. While this keeps surface dust away, it does very little for the deeper layers where real grime lives. Dirt particles are tiny; many are smaller than a human hair. When you walk on a carpet, these particles get pushed down into the backing of the fabric. Over time, they compact and trap moisture, creating a breeding ground for bacteria and allergens.
A standard vacuum cleaner only removes about 20% of the dirt in a carpet. The rest stays trapped in the weave. This hidden layer causes colors to look dull and makes the carpet feel rough or "crunchy" underfoot. A true deep clean involves agitation-physically working the cleaning solution into the fibers-and extraction, which pulls the dirty water out. Without both steps, you are just moving dirt around rather than removing it.
Gathering Your Tools and Supplies
You do not need industrial equipment to achieve professional results. However, having the right consumer-grade tools makes the job significantly easier. Here is what you should have ready before you start:
- Carpet Extractor Machine: This is the core tool. It sprays hot water mixed with detergent and sucks it back up. Renting one from a hardware store costs less than hiring a pro and lasts for years.
- Carpet Shampoo: Choose a pH-neutral cleaner suitable for your fiber type. Avoid heavy soaps that leave residue.
- Stain Remover: A dedicated enzyme-based remover for organic stains like urine or food.
- Fan: Large box fans to speed up drying time.
- Microfiber Cloths: For spot testing and wiping edges.
- Vacuum Cleaner: Ideally with a beater bar or rotating brush head.
If you do not own an extractor machine, a steam mop with a carpet attachment can work for light maintenance, but for a genuine deep clean, renting a dedicated unit is worth the small fee. Check the label on your carpet to confirm the fiber type. Nylon is tough and handles heat well, while wool is more sensitive and requires lower temperatures and gentler chemicals.
Step 1: Preparation and Pre-Treatment
Before you plug in any machines, clear the room. Move furniture if possible, or lift legs off the floor using wooden blocks to prevent water pooling underneath. Pick up all loose debris, including pet hair, crumbs, and lint. This step is crucial because large particles can clog your extractor machine's filter or pump.
Next, vacuum the entire area thoroughly. Go slow and use multiple passes. Start from the far corner and work your way toward the door. Pay extra attention to high-traffic lanes near doors and seating areas. After vacuuming, inspect the carpet for visible stains. Treat these spots now, before the general cleaning. Apply your stain remover directly to the affected area, let it sit for the time recommended on the bottle (usually 5-10 minutes), and blot dry with a microfiber cloth. Do not rub, as this pushes the stain deeper and damages the fibers.
Step 2: The Extraction Process
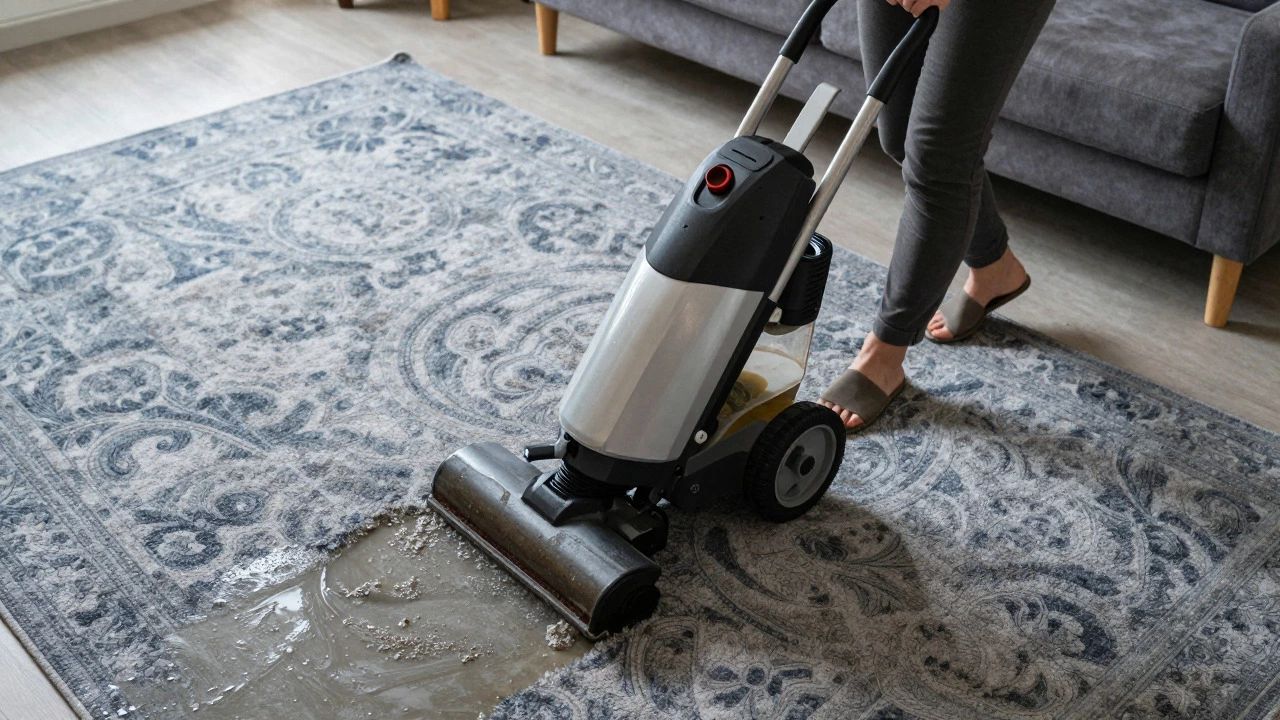
Now comes the main event. Fill your extractor machine with warm water and the appropriate amount of carpet shampoo. Warm water helps dissolve oils and grime better than cold water, but avoid boiling water unless your machine specifically allows it, as extreme heat can shrink certain synthetic fibers.
- Work in Sections: Divide the room into manageable squares, roughly 1 meter by 1 meter. This ensures even coverage and prevents you from missing spots.
- Spray and Agitate: Run the machine forward slowly, spraying the solution. Then run it backward immediately to extract the dirty water. Do not linger in one spot, or the carpet will become oversaturated.
- Cross-Pattern Technique: For the first pass, go lengthwise. For the second pass, go across the grain. This cross-hatching pattern agitates the fibers from different angles, dislodging embedded dirt more effectively.
- Watch the Water: Keep an eye on the dirty water tank. If the water coming out is still dark brown or grey, you may need another pass over that section. Clear water indicates the dirt is gone.
Be gentle with the edges. Use the machine's edge tool or a hand-held nozzle to clean along walls and baseboards. These areas collect the most dust and often look the worst after cleaning if neglected.
Step 3: Drying and Finishing
Drying is often the most overlooked part of carpet cleaning, yet it determines the final result. If a carpet stays damp for more than 12 hours, you risk mold growth and unpleasant odors. The goal is to get the carpet as dry as possible within 4 to 6 hours.
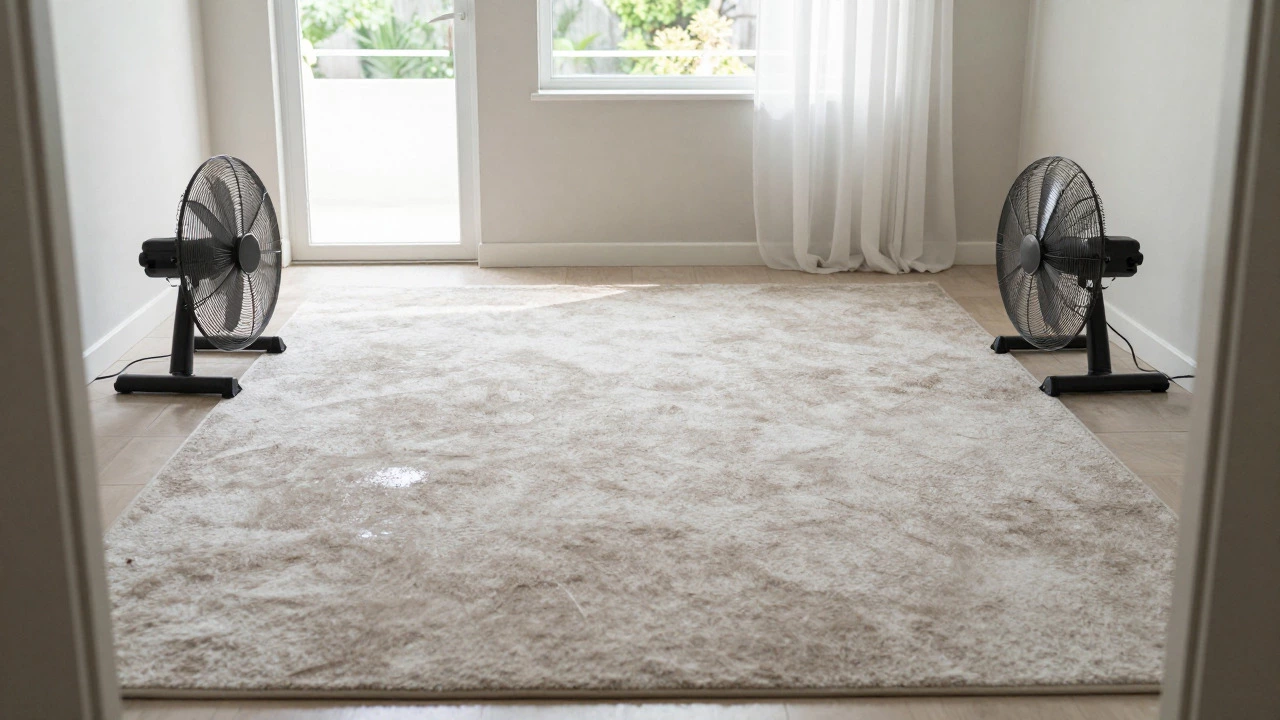
Turn on your fans and direct them across the carpet surface. Open windows if the weather permits, as natural airflow is highly effective. If you have access to a dehumidifier, place it in the center of the room to pull moisture from the air. Walk on the carpet lightly to help push remaining water into the backing, then vacuum again once the surface feels dry to the touch. This final vacuuming removes any remaining soap residue and fluffs up the pile, restoring its softness.
Comparing DIY Methods: What Works Best?
Not all cleaning methods are created equal. Some are quick fixes, while others provide long-term benefits. Understanding the differences helps you choose the right approach for your specific situation.
| Method | Best For | Drying Time | Cost Estimate | Effectiveness |
|---|---|---|---|---|
| Steam Extraction (Hot Water) | Deep dirt, odors, allergens | 4-8 hours | £30-£50 (rental) | High (90%+ dirt removal) |
| Carpet Shampooing | Surface stains, light soil | 2-4 hours | £10-£20 (product) | Moderate (risk of residue) |
| Dry Foam | Quick refresh, low moisture areas | 1-2 hours | £15-£25 (product) | Low-Moderate (surface level) |
| Professional Service | Heavy staining, large areas | 2-4 hours | £80-£150+ | Very High |
Steam extraction remains the gold standard for DIY deep cleaning because it physically removes dirt rather than just masking it. Shampooing can leave a sticky residue that attracts more dirt later, so it is best reserved for occasional spot treatments. Dry foam is convenient but lacks the power to reach deep into the backing.
Common Mistakes to Avoid
Even with the right tools, small errors can ruin your efforts. Here are the pitfalls to watch out for:
- Over-wetting: Soggy carpets take days to dry and can warp hardwood floors underneath. Follow the machine’s guidelines for water usage.
- Using the wrong detergent: Heavy soaps leave film. Always use a product labeled for carpet extraction.
- Ignoring the grain: Carpets have a direction. Cleaning against the grain can make the pile look uneven. Always finish with the grain.
- Skipping the test patch: Before applying any chemical to the whole room, test it on a hidden corner to ensure no color bleeding occurs.
Maintenance Tips for Long-Lasting Results
Once your carpet is deep cleaned, maintaining it is much easier than starting from scratch. Vacuum high-traffic areas every day and the rest of the room twice a week. Use doormats at entrances to catch grit before it enters the house. Address spills immediately; the faster you blot, the less likely the stain is to set. Consider applying a carpet protector spray every 6-12 months to repel liquids and reduce friction wear.
By following this routine, you can extend the life of your carpet by several years and keep it looking fresh without needing frequent professional interventions. Your floors will stay hygienic, soft, and visually appealing, adding value and comfort to your home.
Frequently Asked Questions
Can I deep clean my carpet without a machine?
Yes, but it is labor-intensive. You can use a bucket, a sponge mop, and a wet/dry vacuum. Mix the solution, scrub the carpet manually, and then use the wet/dry vac to suck up the liquid. This method works well for small rugs but is tiring for large areas.
How often should I deep clean my carpets?
For most households, a deep clean every 6 to 12 months is sufficient. If you have pets, young children, or allergies, consider doing it every 3 to 6 months. High-traffic commercial spaces may need monthly cleaning.
Is steam cleaning the same as hot water extraction?
In the carpet industry, these terms are often used interchangeably. True steam cleaning uses dry steam to sanitize, while hot water extraction uses heated water and detergent to remove dirt. Most residential "steam cleaners" are actually hot water extractors.
What should I do if my carpet shrinks during cleaning?
Shrinkage usually happens if too much heat is applied to wool or if the carpet was already damaged. Let the carpet dry completely. Minor wrinkles often smooth out on their own. If severe, call a professional to assess if re-stretching is needed.
Can I use vinegar to clean my carpet?
Diluted white vinegar can help neutralize odors and act as a mild disinfectant. Mix one part vinegar with four parts water. However, do not mix vinegar with bleach, as it creates toxic fumes. Test on a small area first to ensure it doesn’t affect the color.